

前回、Windows Server 2012 R2のインストール手順を記事にしました。
今回は、前回インストールしたWindows Server 2012 R2にActive Directoryをインストールしていきたいと思います。
前提条件
前回、インストールした仮想マシンをベースにActive Directoryを構築していきます。
- CPU : 2vCPU
- MEM : 4GB
- DISK : 60GB
- OS : Windows Server 2012 R2 DC
- IP : 192.168.100.168
- Hostname : dev-ad01
今回インストールするADは1台目のため、DNSサーバの宛先をループバック(127.0.0.1)に設定してあります。
Active Directoryの環境は以下の通りです。
- ドメイン : ad.local
- ドメイン機能レベル : Windows Server 2012 R2
- フォレスト機能レベル : Windows Server 2012 R2
Active Directoryインストール
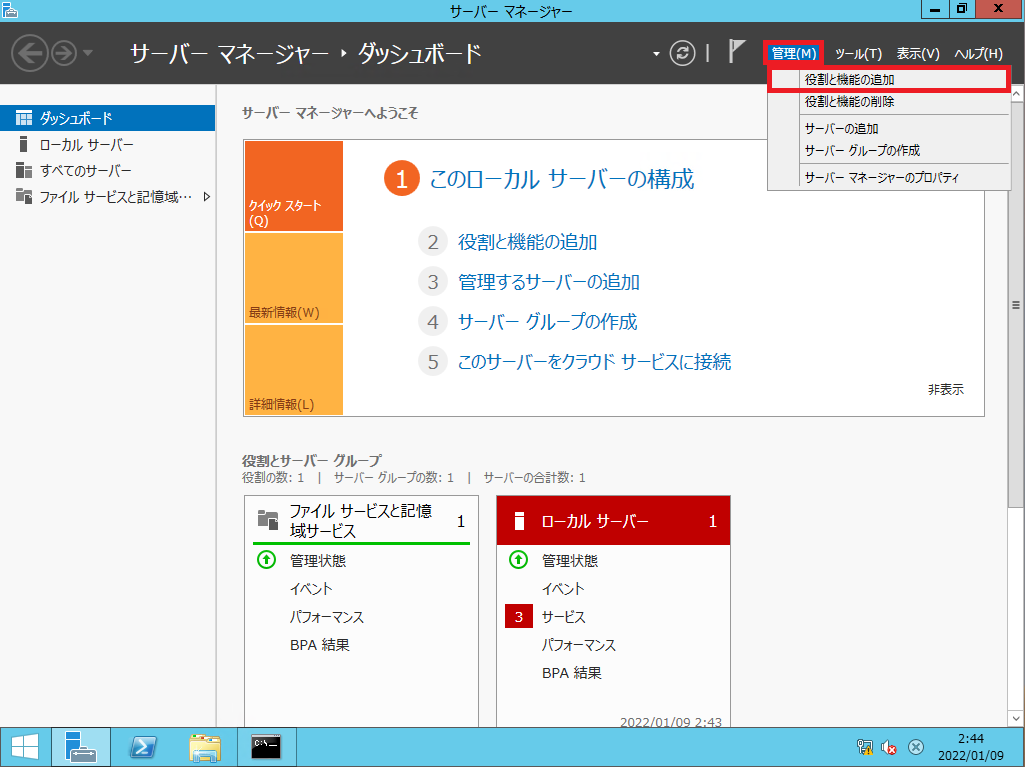
[サーバマネージャ]より、[管理]-[役割と機能の追加]を選択します。
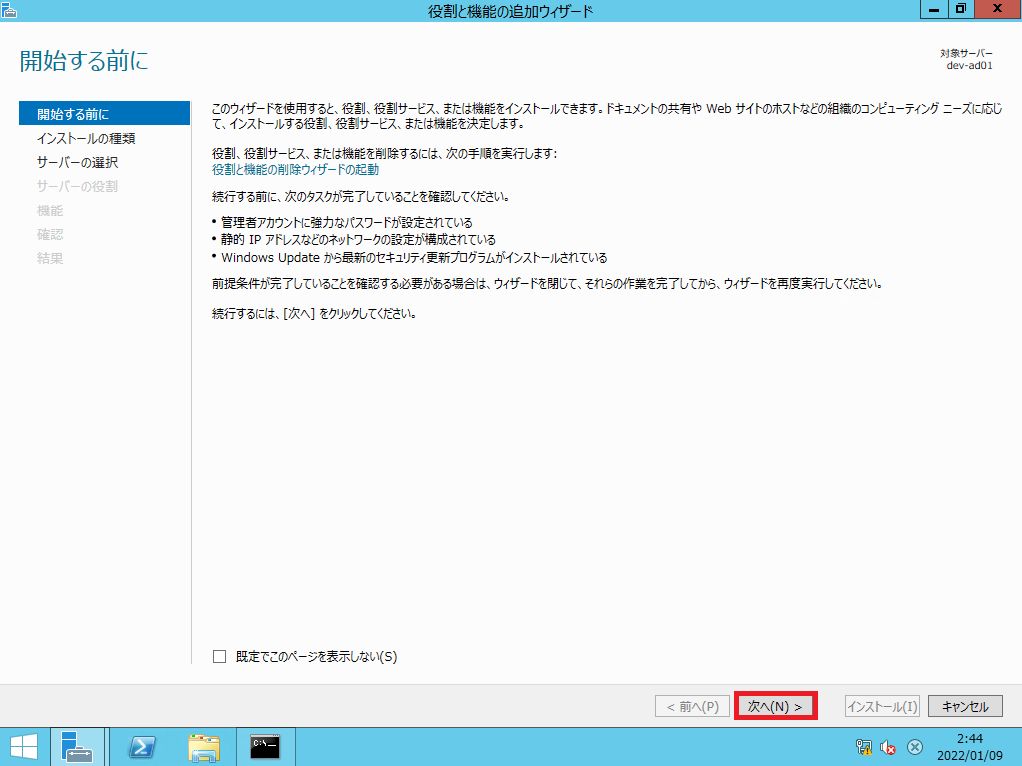
[開始する前に]より、[次へ]を押下します。
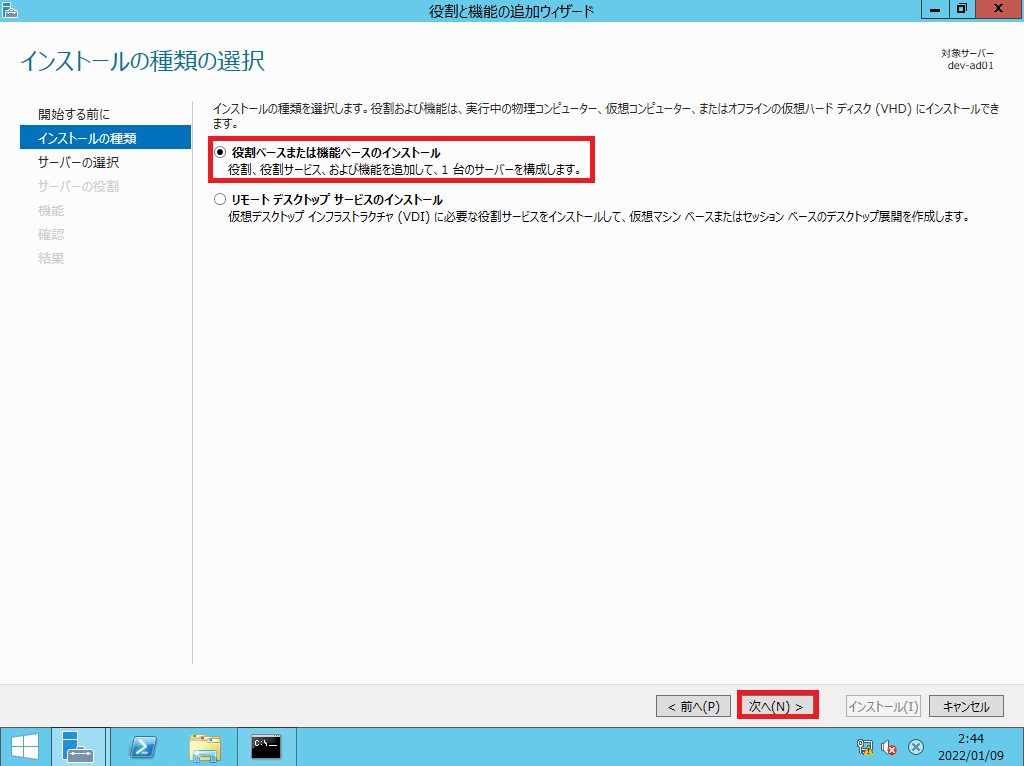
[インストールの種類]より、[役割ベースまたは機能ベースのインストール]を選択し、[次へ]を押下します。
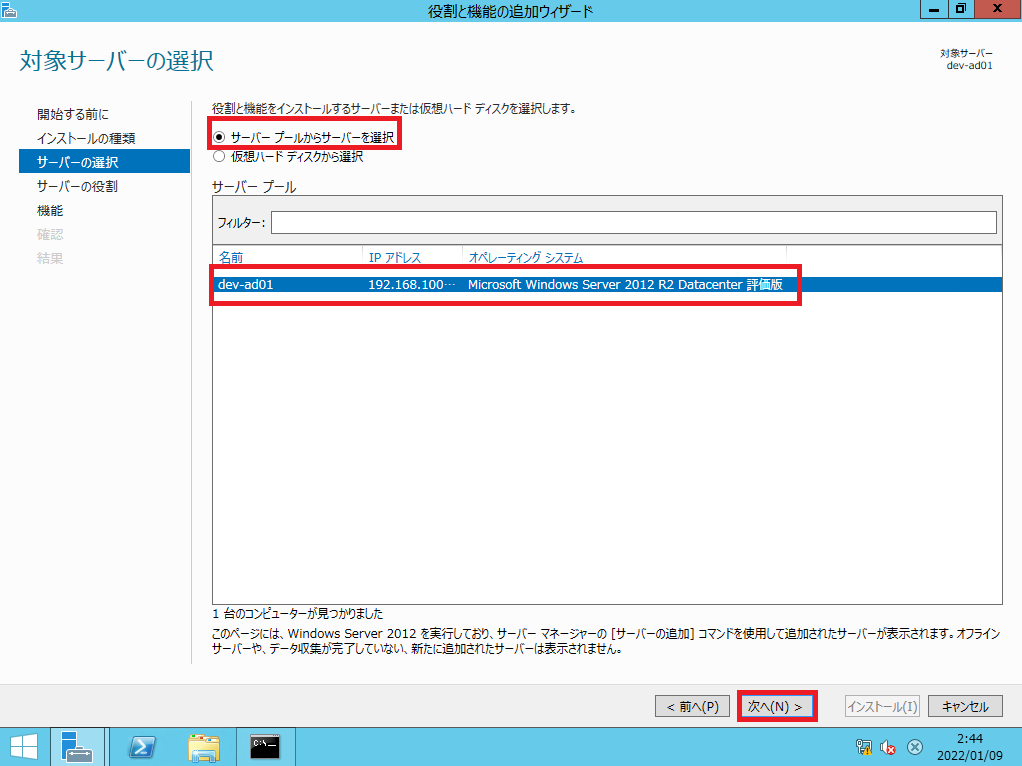
[サーバの選択]より、[サーバプールからサーバを選択]-[サーバプール]より、インストール対象のサーバを選択し、[次へ]を押下します。
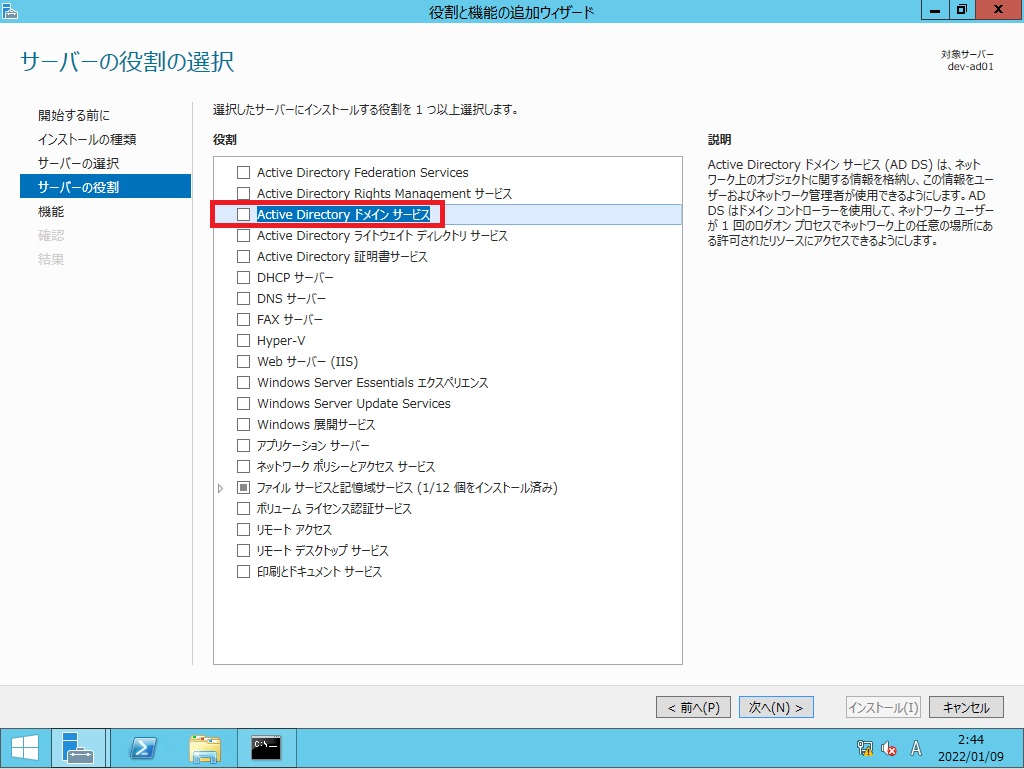
[サーバの役割]より、[Active Directoryドメインサービス]を選択します。

[Active Directoryドメインサービスに必要な機能を追加しますか?]より、[管理ツールを含める]にチェックが入っていることを確認して、[機能の追加]を押下します。
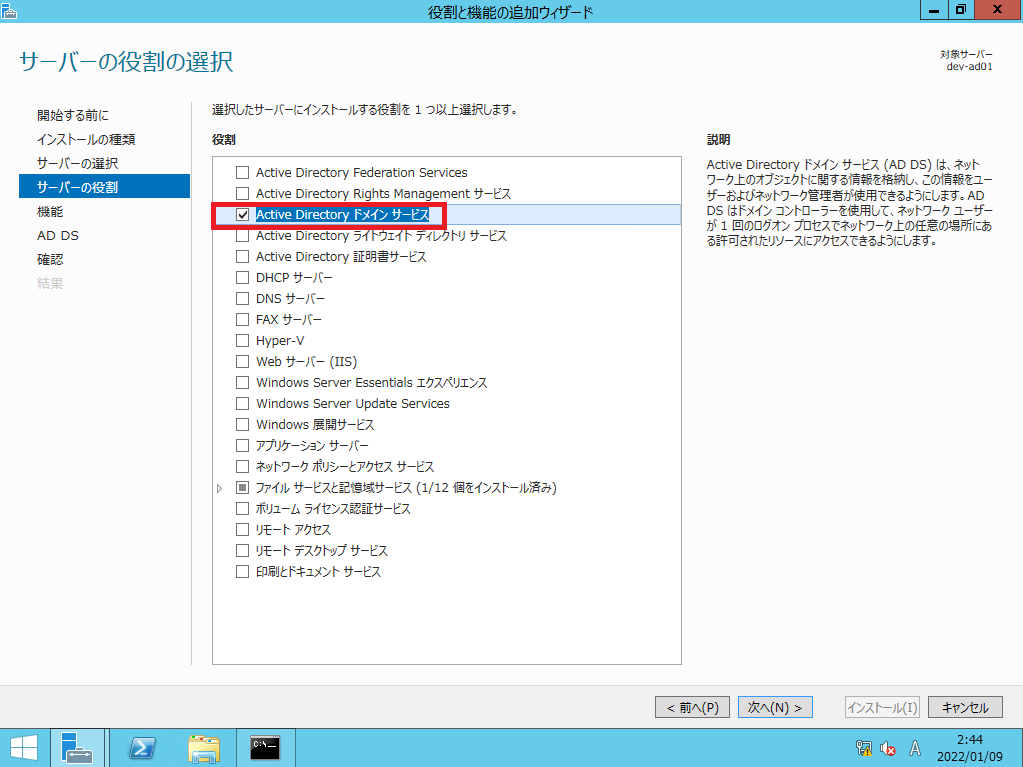
[サーバの役割]より、[Active Directoryドメインサービス]にチェックが入っていることを確認します。
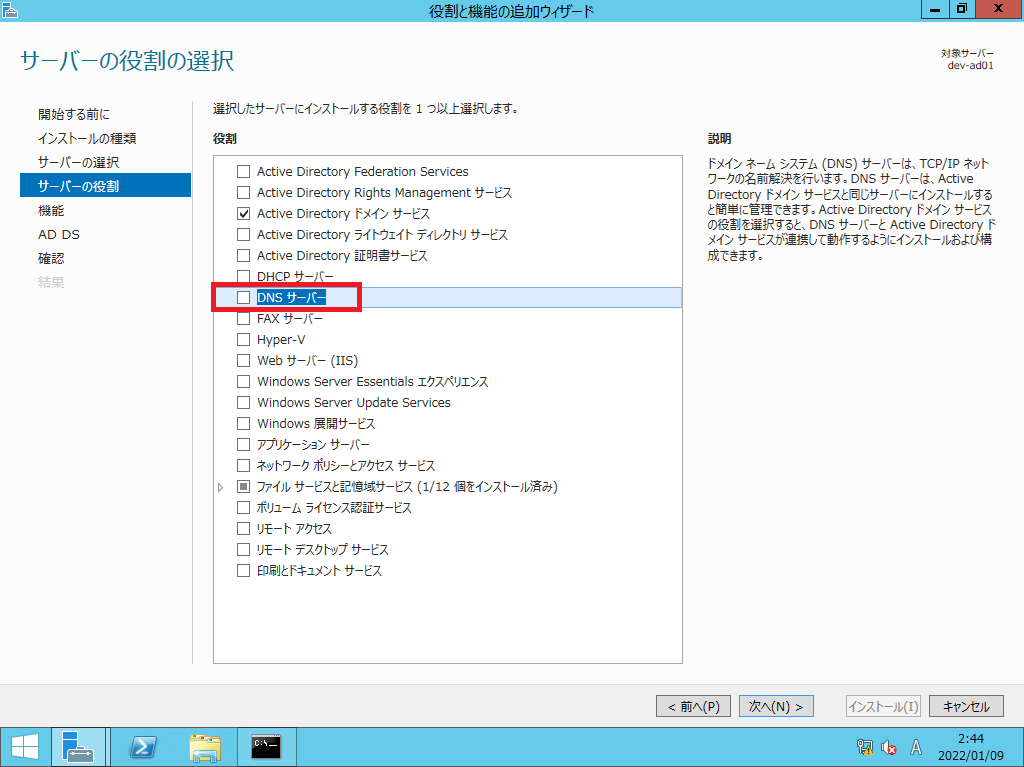
[サーバの役割]より、[DNSサーバ]を選択します。
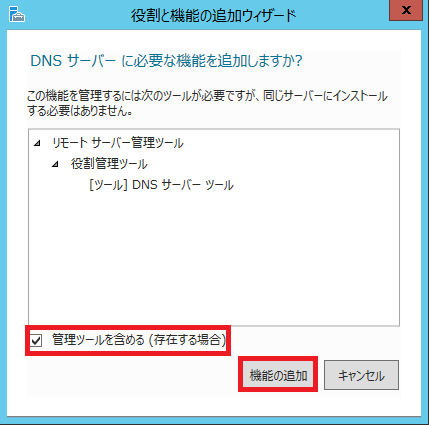
[DNSサーバに必要な機能を追加しますか?]より、[管理ツールを含める]にチェックが入っていることを確認し、[機能の追加]を押下します。
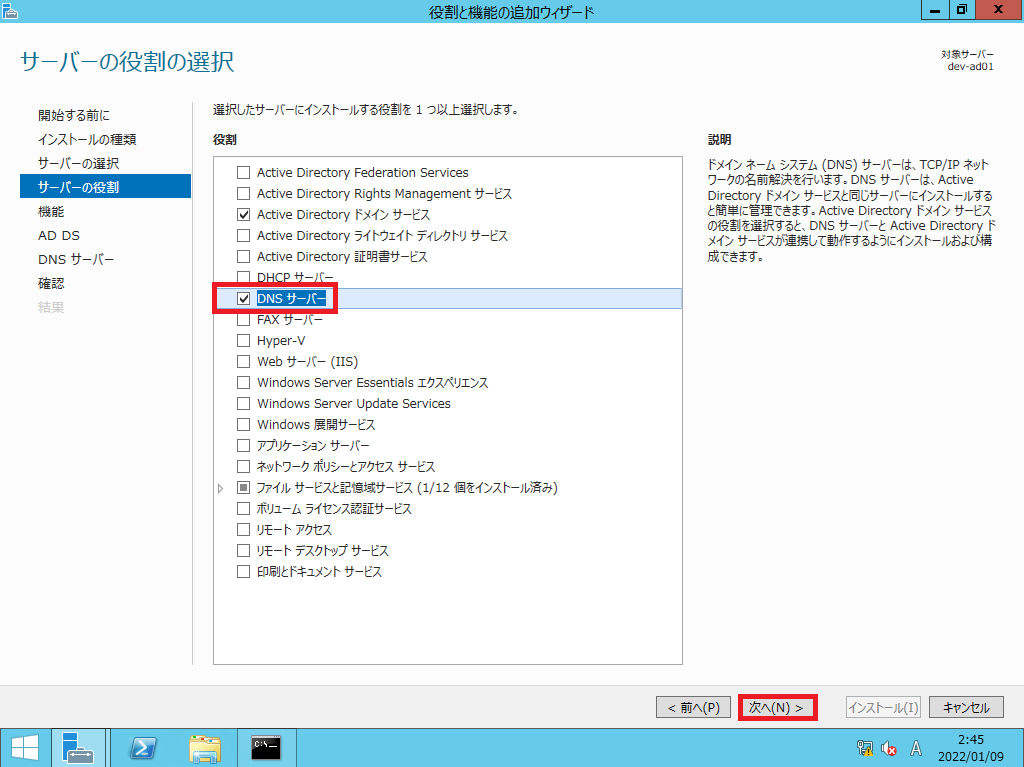
[サーバの役割]-[DNSサーバ]にチェックが入っていることを確認し、[次へ]を押下します。
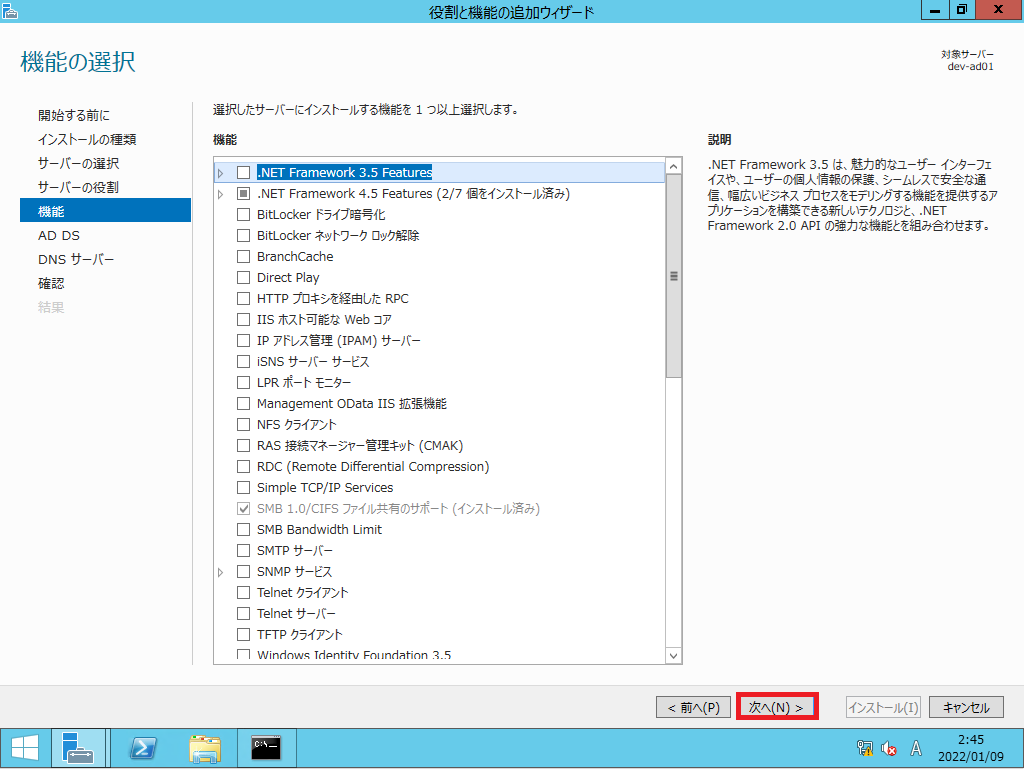
[機能]より、[次へ]を押下します。
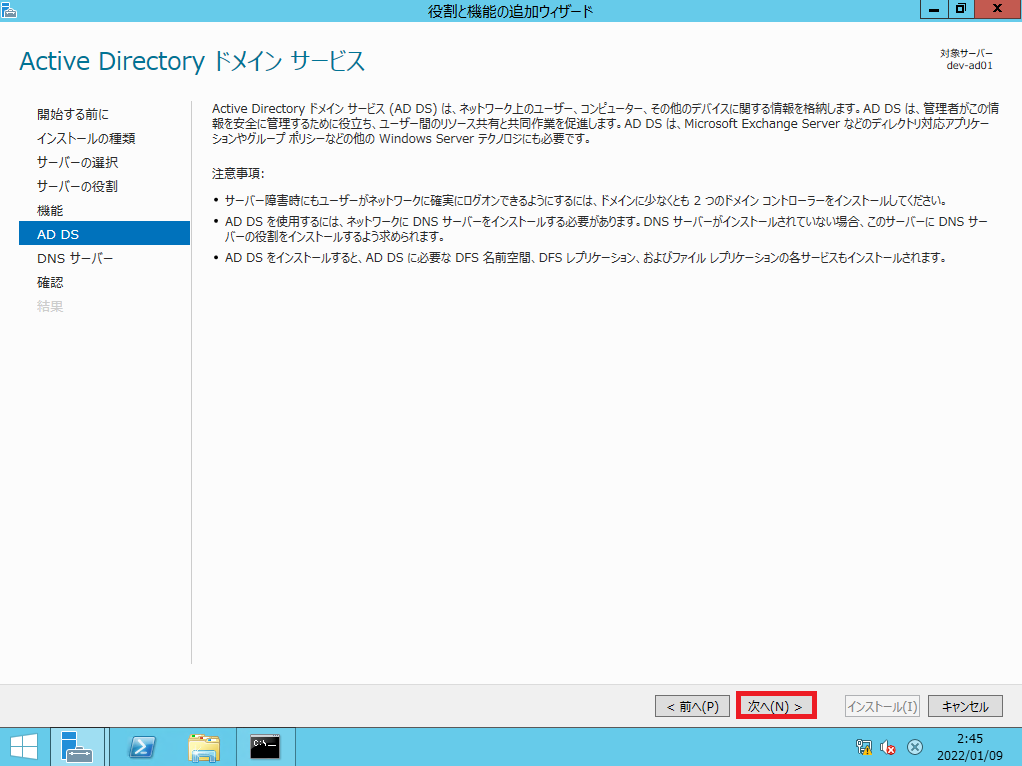
[AD DS]より、[次へ]を選択します。
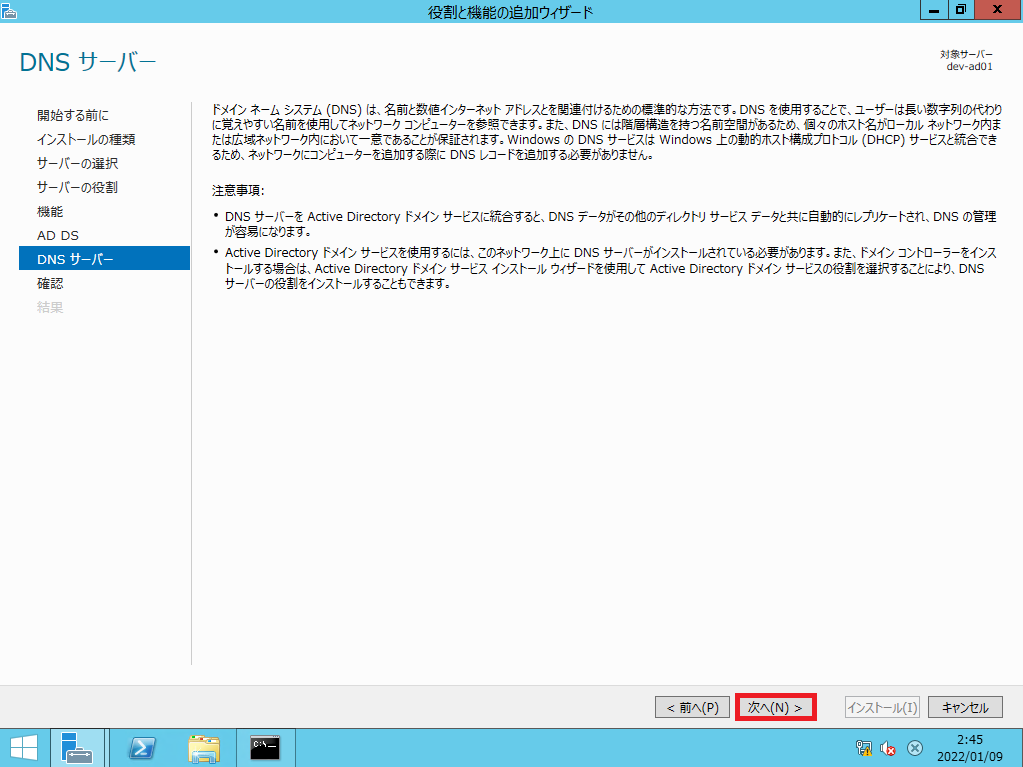
[DNSサーバ]より、[次へ]を押下します。
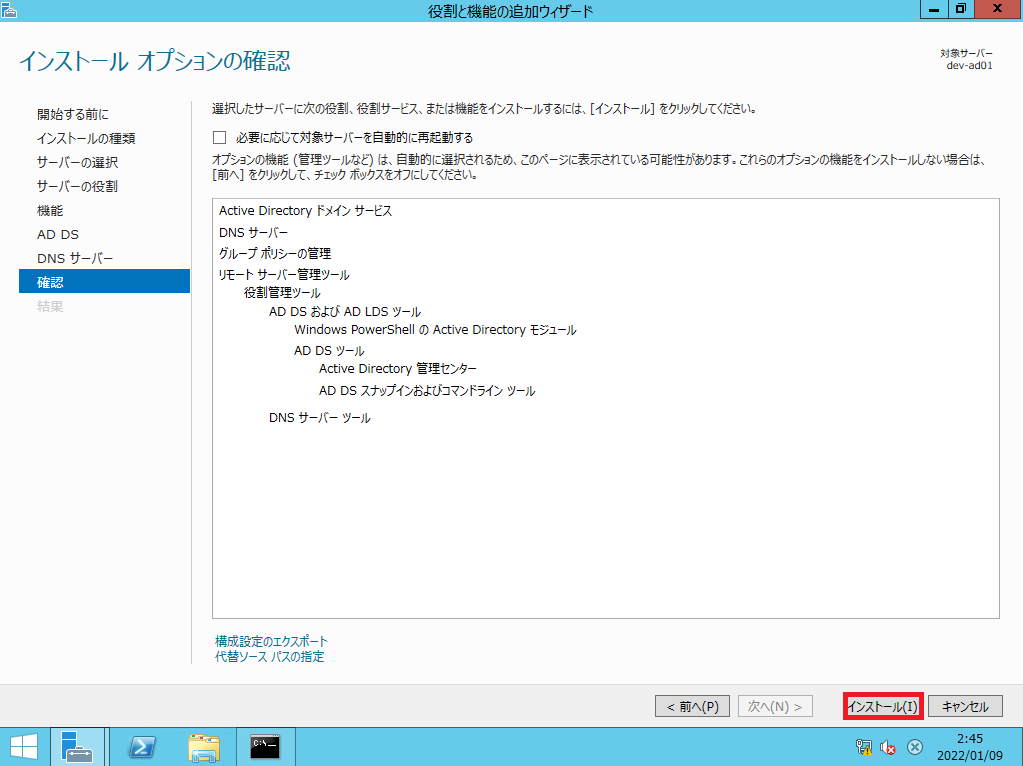
[確認]より、インストールする内容を確認し、[インストール]を選択します。
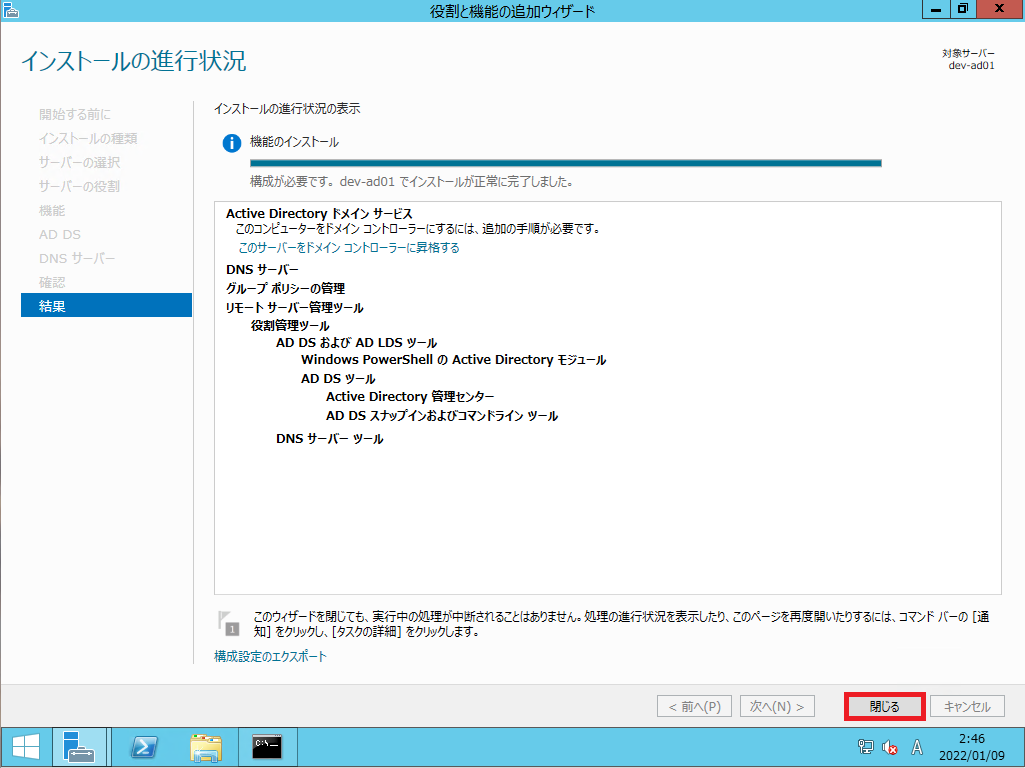
[結果]より、インストールが正常に完了したことを確認し、[閉じる]を選択します。
以上で、Active DirectoryおよびDNSサーバのインストールは完了です。
Active Directory初期設定
ここからActive Directoryの初期設定を行っていきます。
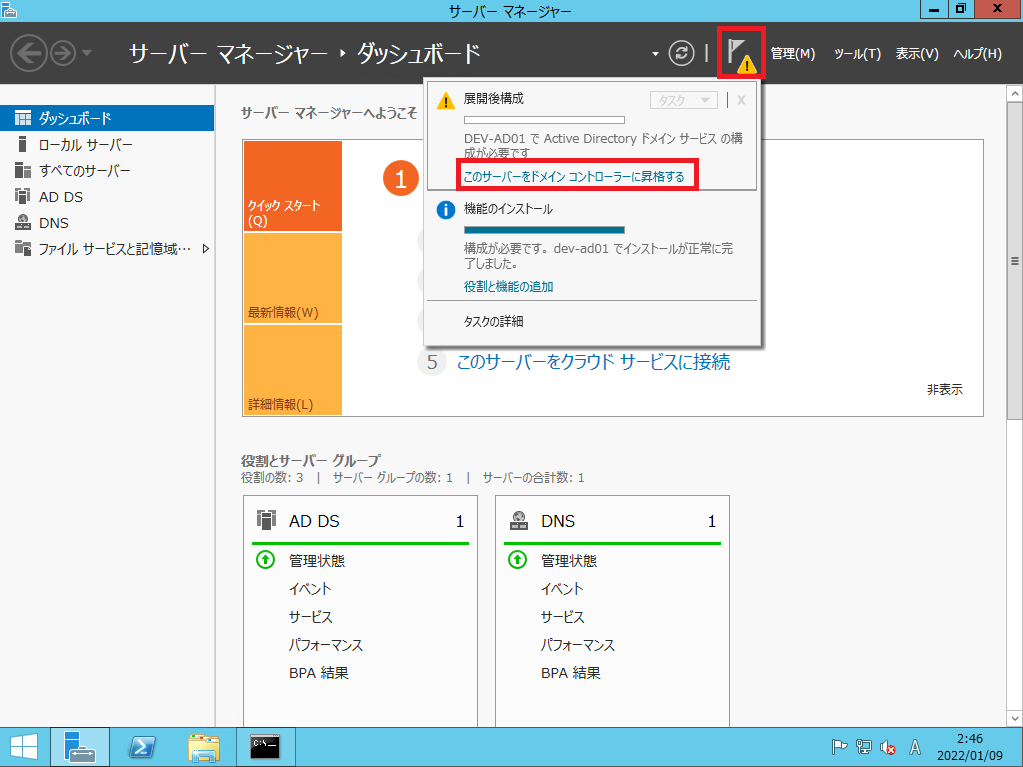
[サーバマネージャ]n右上のフラグより、[展開後の構成]-[このサーバをドメインコントローラぬい昇格する]を選択します。
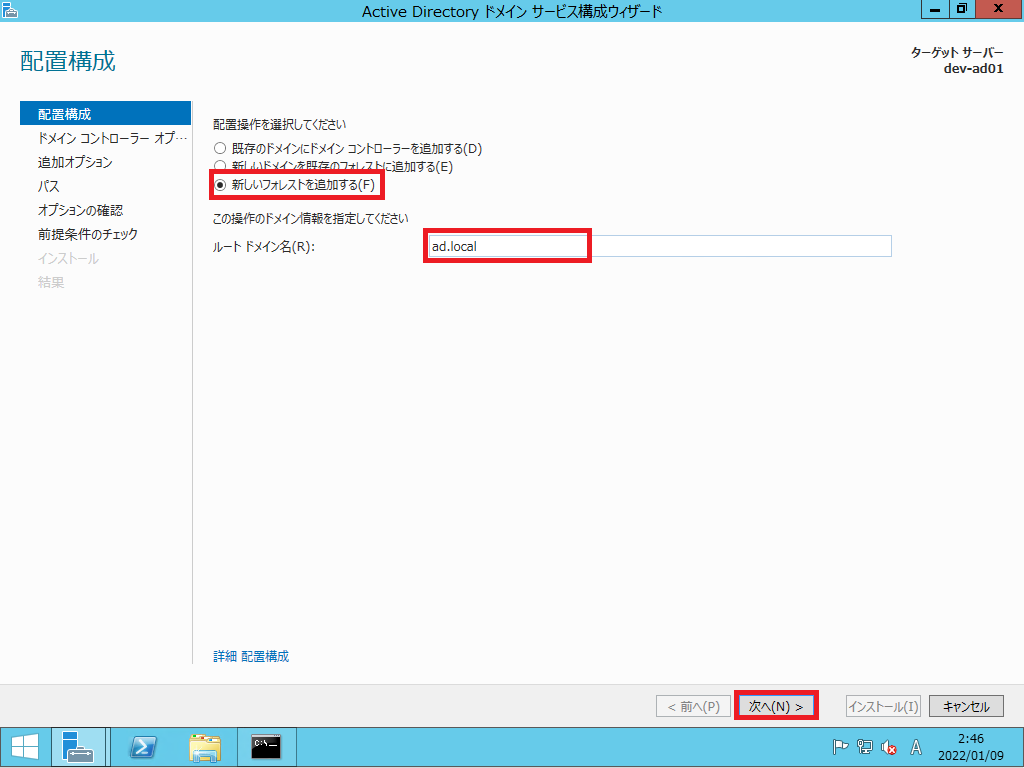
[Active Directoryドメインサービス構成ウィザード]-[配置構成]より、以下の設定を行い、[次へ]を押下します。
- 新しいフォレストを追加する : ●
- ルートドメイン : ad.local (任意)
今回は、新規でActive Directoryを構成するため、ドメインも新規で作成しております。
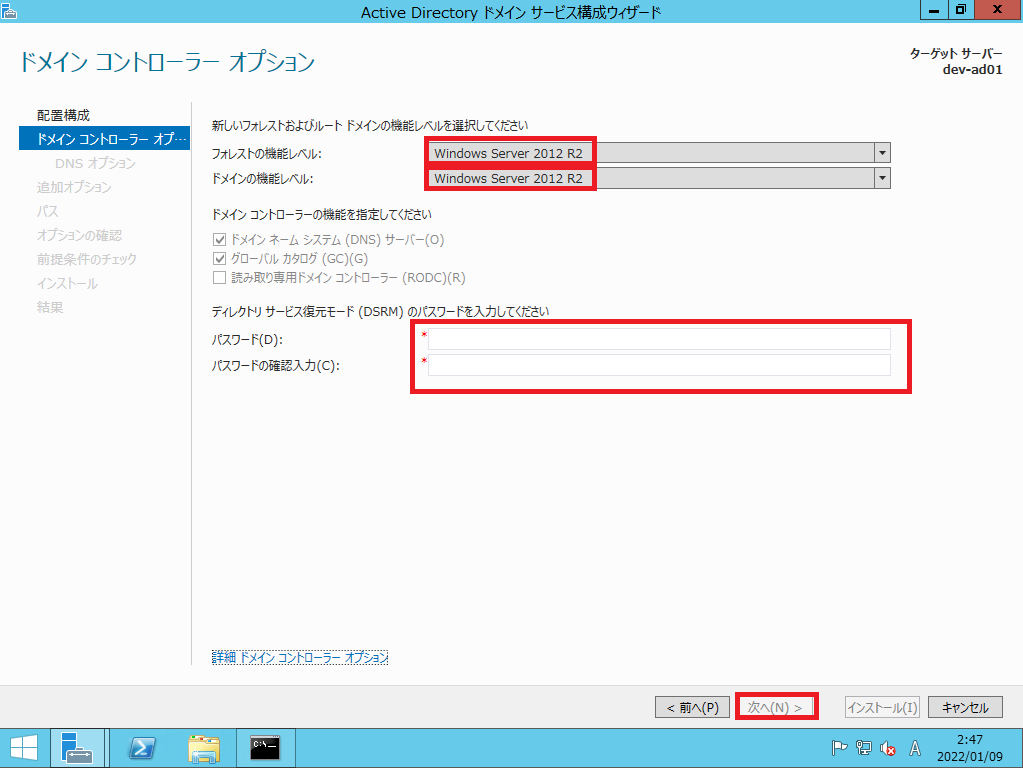
[ドメインコントローラオプション]より、以下の設定を行い[次へ]を選択します。
- フォレスト機能レベル : Windows Server 2012 R2
- ドメイン機能レベル : Windows Server 2012 R2
- ドメインネームシステム(DNS)サーバ : ■
- グローバルカタログ : ■
- 読み取り専用ドメインコントローラ : □
- ディレクトリサービス復元モードパスワード : 任意のパスワード
今回は、別の用途で使用するため、フォレストとドメインの機能レベルをWindows Server 2012 R2にしております。
異なるOS環境でADを構築する場合はそのドメイン内のの最低稼働OSのレベルに合わせて設定してください。
また、ディレクトリサービス復元モードのパスワードはADが壊れた際の復元時に必要となるため、記憶できるパスワードとしてください。

[DNSオプション]より、[次へ]を押下します。
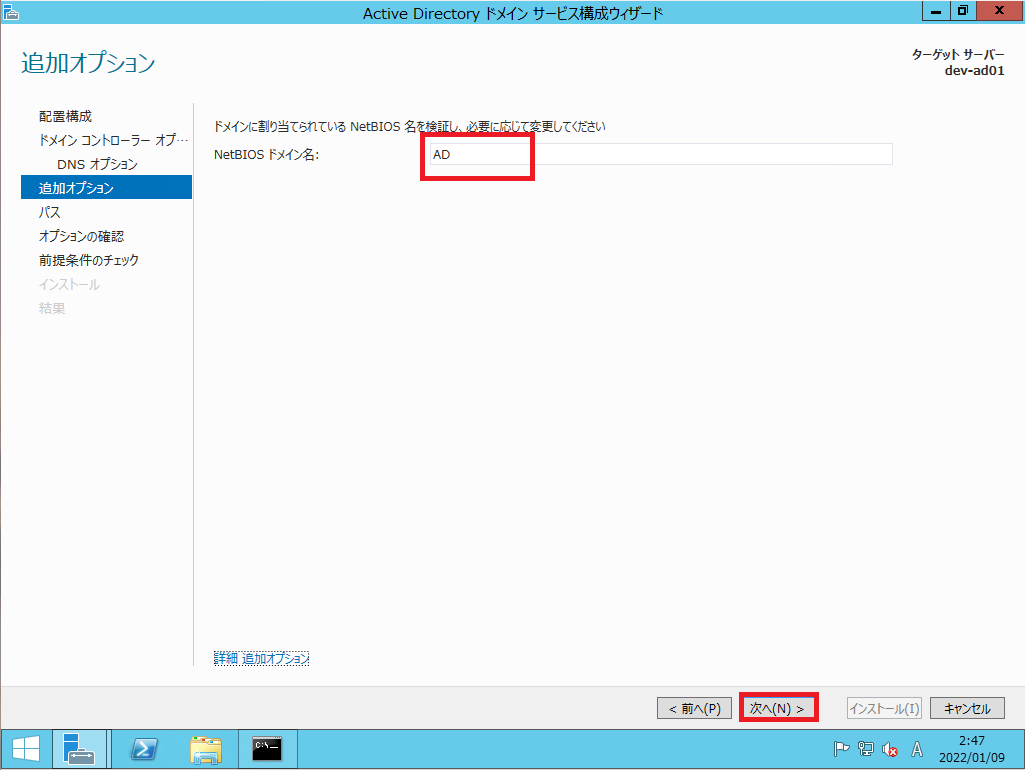
[追加オプション]より、[NetBIOSドメイン名]がネットワーク内でユニークなことを確認します。
NetBIOSドメイン名が重複する可能性がある場合は、変更してください。
ネットワーク内でユニークなことが確認できたら[次へ]を選択します。

[パス]より、SYSVOLやデータベースファイルのパスを確認し、[次へ]を選択します。
基本的にはデフォルトで問題ないと思います。
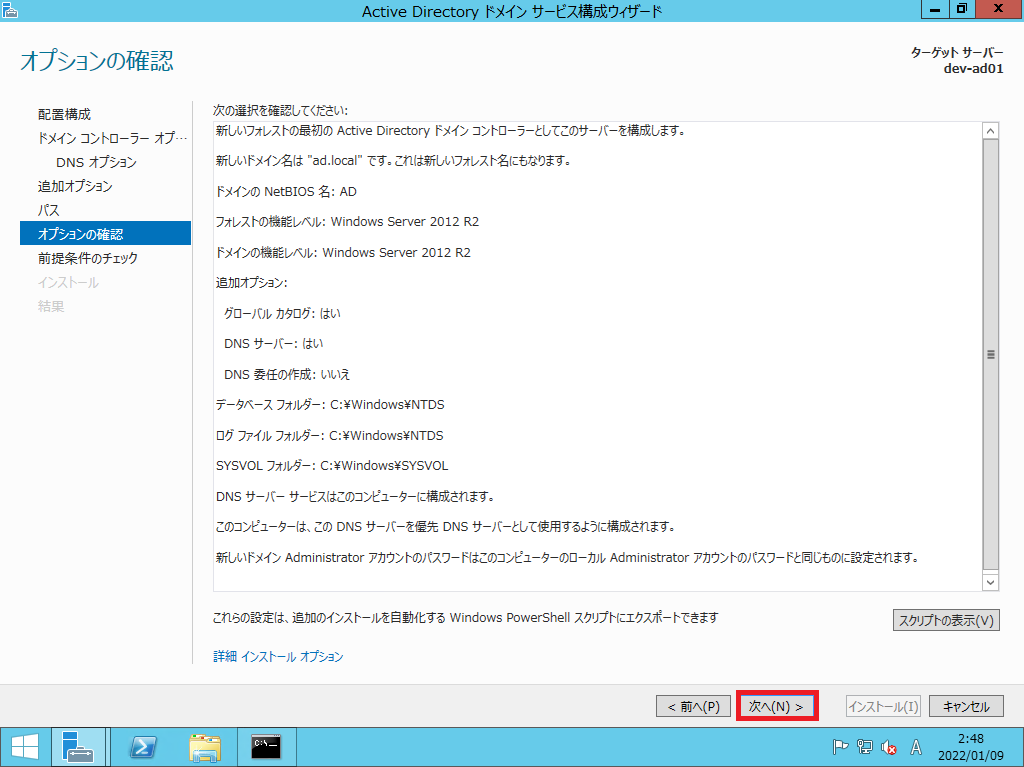
[オプションの確認]より、設定する項目を確認し[次へ]を選択します。
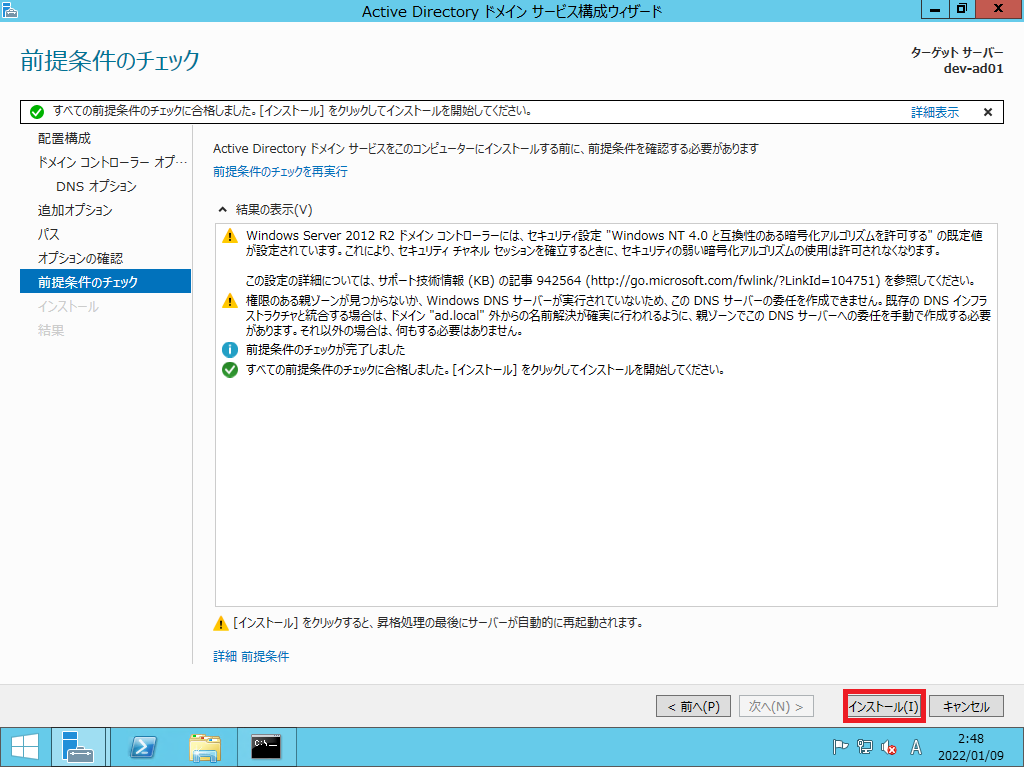
[前提条件のチェック]より、前提条件を確認し[インストール]を選択します。

インストール完了後、再起動が必要なため、[閉じる]を押下して再起動させます。
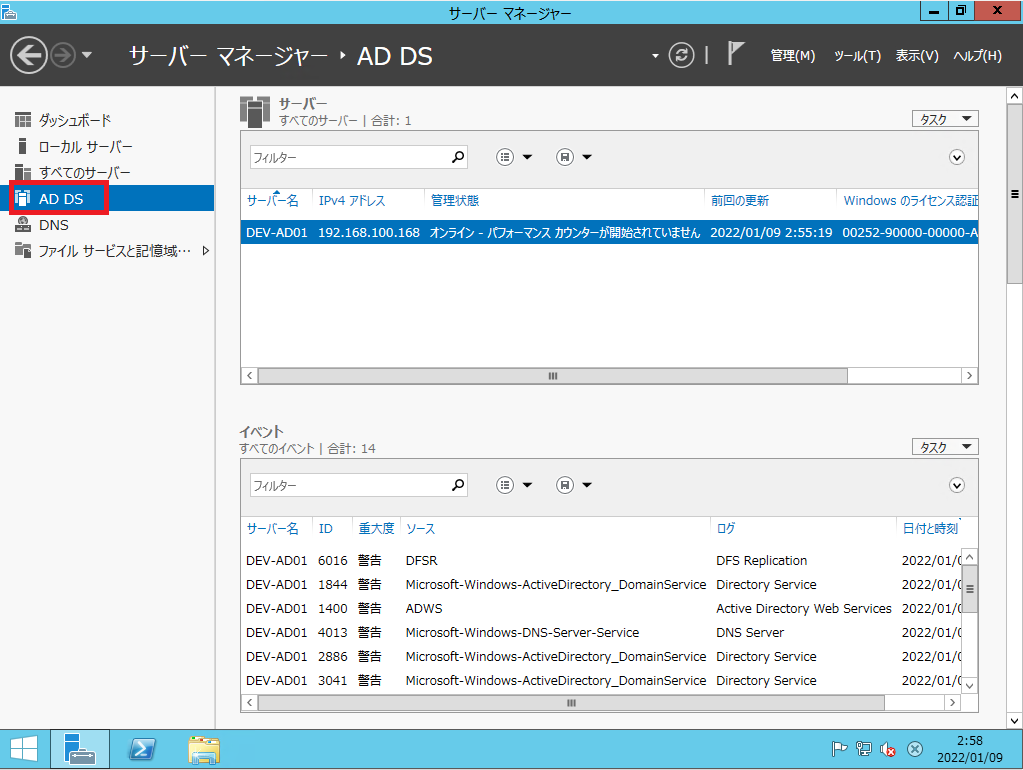
サーバの再起動後、[サーバマネージャ]より[AD DS]が追加されていることを確認します。

[サーバマネージャ]-[ツール]-[Active Directory サイトとサービス]を選択します。
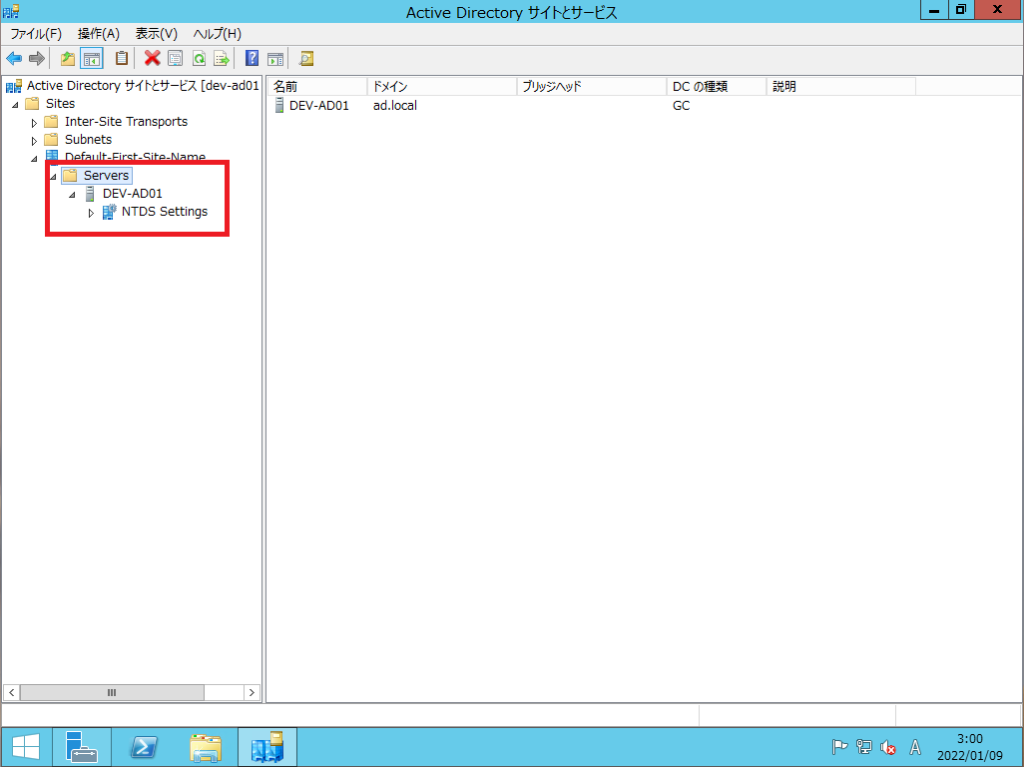
[Active Directoryサイトとサービス]より、[Sites]-[Default-First-Site-Name]-[Servers]より、対象のサーバが存在していることを確認します。
以上でWindows Server 2012 R2にActive Directoryをインストールする手順は完了です。
まとめ
今回は、Windows Server 2012 R2を使用してActive Directoryをインストールして設定してみました。
次回は、Active Directoryの降格の手順の記載してみたいと思います。
おまけ
本ブログではVMwareやWindows、Linuxのインストール手順等も公開しております。
インフラエンジニアとして有益な記事や無益なコンテンツも作成しておりますので、通勤時間や休憩時間、休日のスキマ時間等に合わせて読んでいただけると幸いです。


コメント