
今回は、Ubuntu 23.10がリリースされたので、Ubuntu Server 23.10を仮想環境にインストールする手順を記載していきます。
期待する目標
本手順で期待する目標は以下の通りです。
- Ubuntu Server 23.10をダウンロードできる
- Ubuntu Server 23.10をインストールできる
前提条件
本手順で使用する環境は以下の通りです。
- CPU : 2vCPU
- MEM : 4GB
- DISK : 60GB
- 仮想マシンバージョン : 第2世代
今回は、UbuntuをHyper-V上に構成しました。
Hyper-Vのバージョンは第2世代を指定し、セキュアブートを無効化しています。
Ubuntu Serverダウンロード
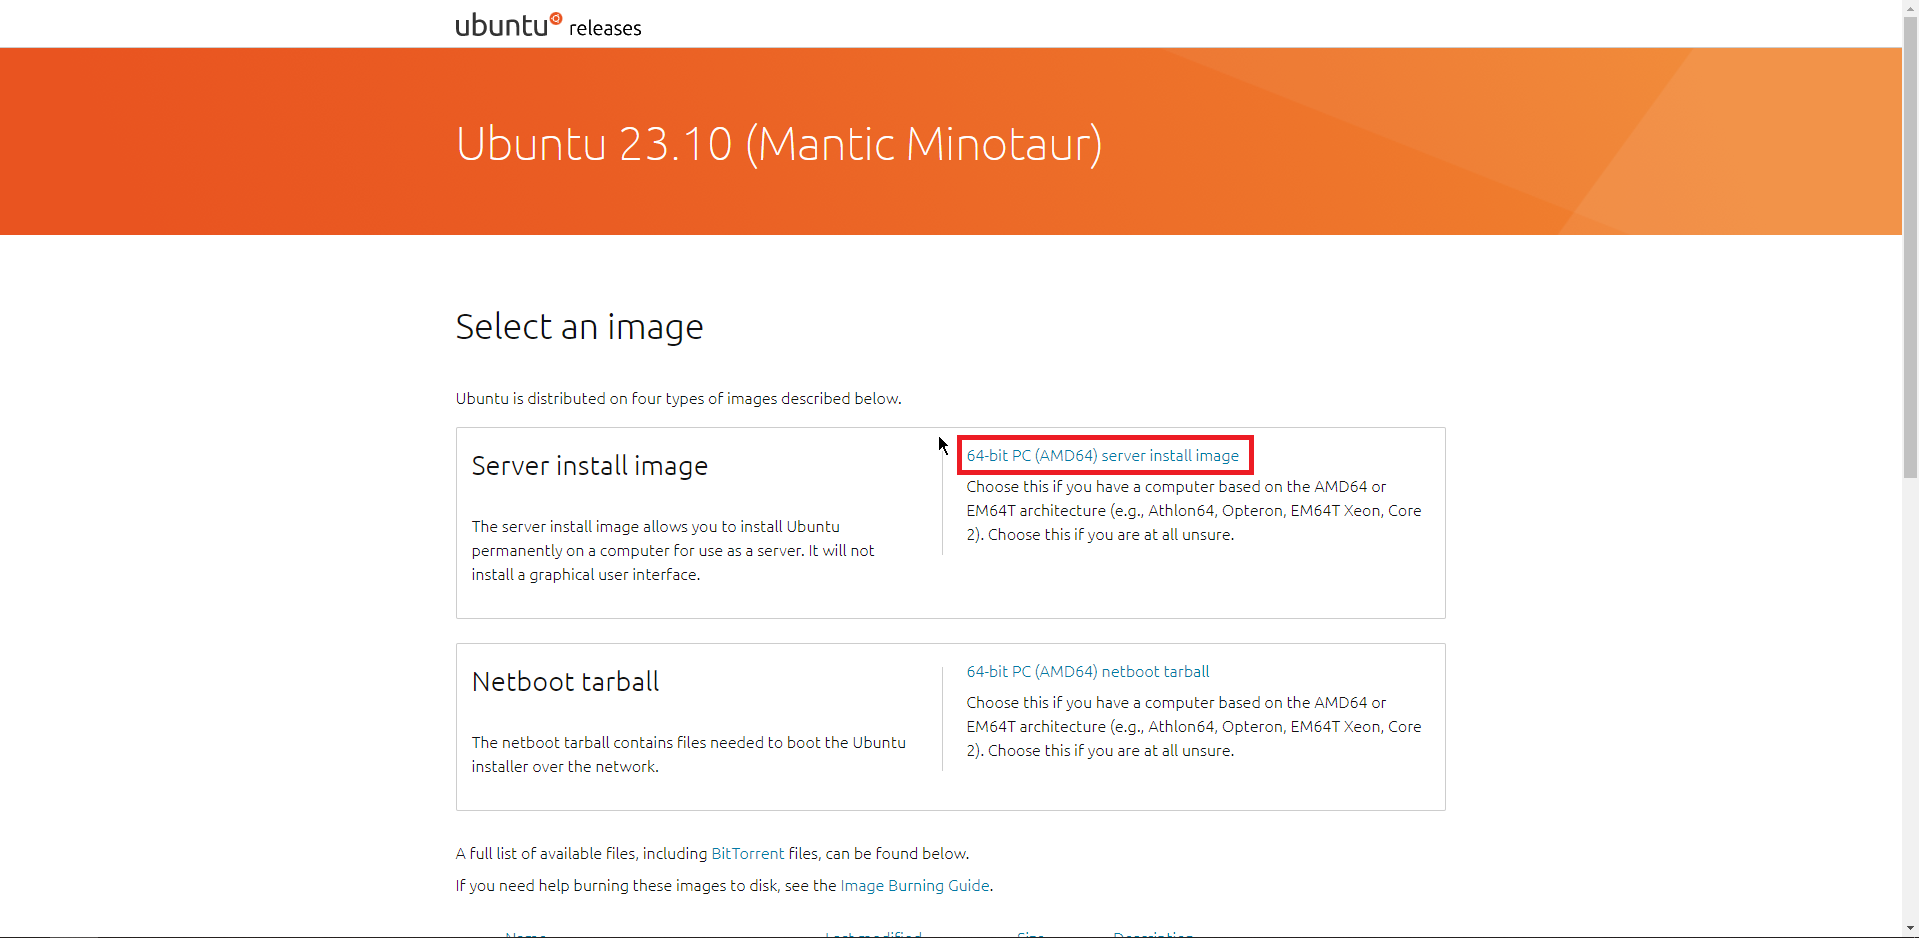
以下のURLより、Ubuntu Server のダウンロードページに移動します。
URL : https://releases.ubuntu.com/23.10/
Ubuntu Serverのダウンロードページより、[Server install image]-[64-bit (AMD64) server install image]を押下し、ISOファイルをダウンロードします。
以上で、Ubuntu Serverのダウンロードは完了です。
Ubuntu Server 23.10インストール
ダウンロードしたUbuntu ServerのISOファイルを仮想マシンにマウントし、起動します。
Hyper-Vで仮想マシンを作成する方法については、以下の記事で解説しています。

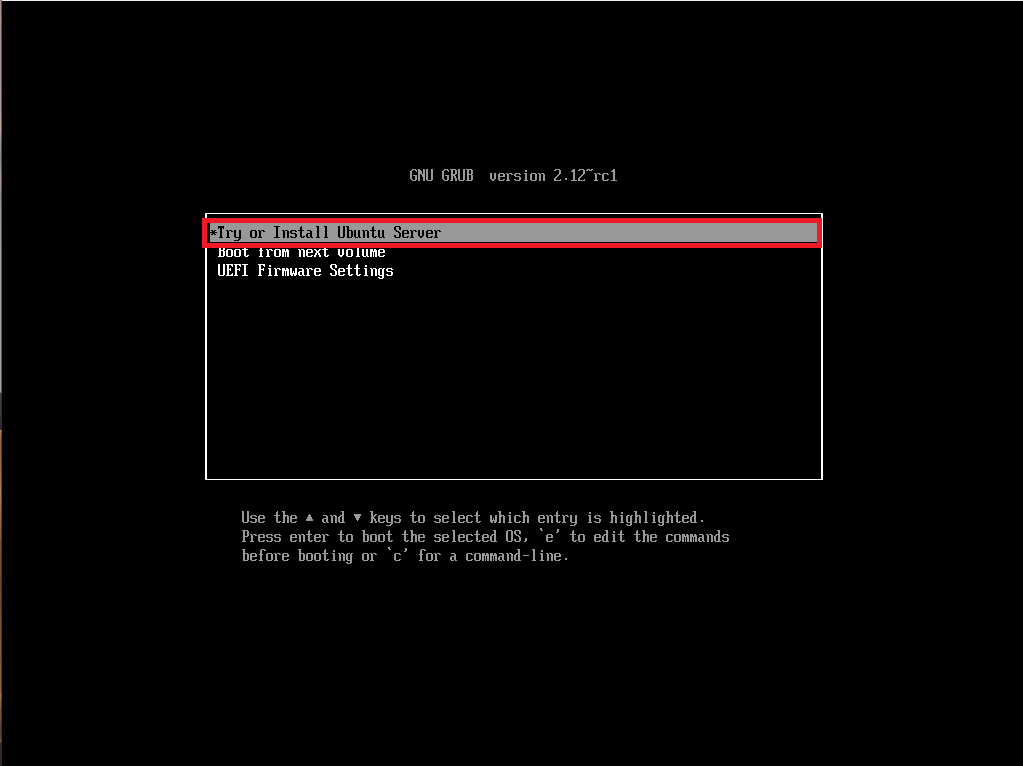
仮想マシンのコンソールを表示すると、ブートメニューが表示されるため、[Try or Install Ubuntu Server]を押下します。
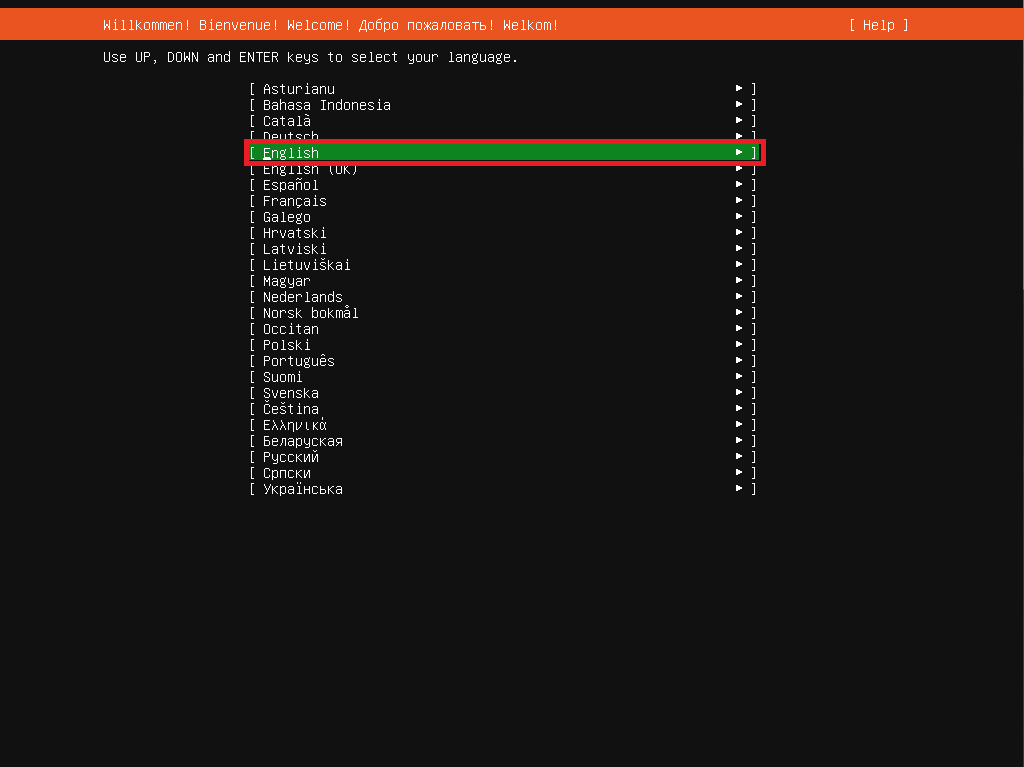
[Use UP , DOWN and ENTER keys to select your language.]より、キーマップと言語を選択します。
今回は、[English]を押下します。
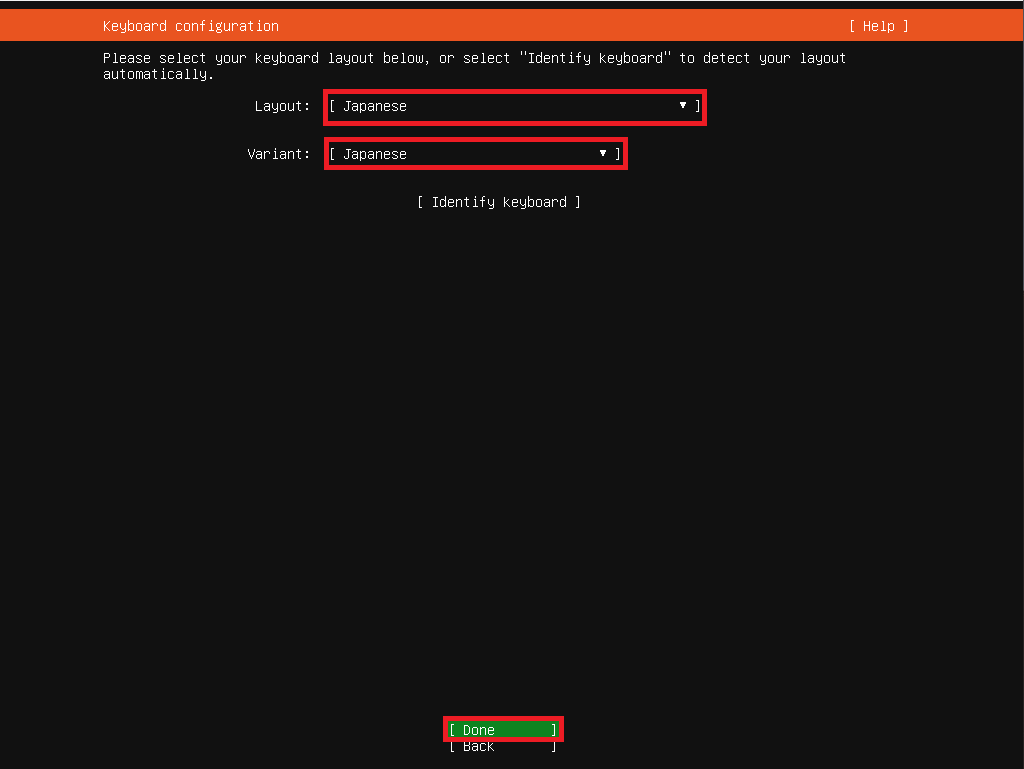
[Keyboard configuration]より、以下の設定を行います。
- Layout : Japanese (任意)
- Variant : Japanese (任意)
今回は、日本語キーボードで日本語配列を選択しました。
設定が完了したら、[Done]を押下します。
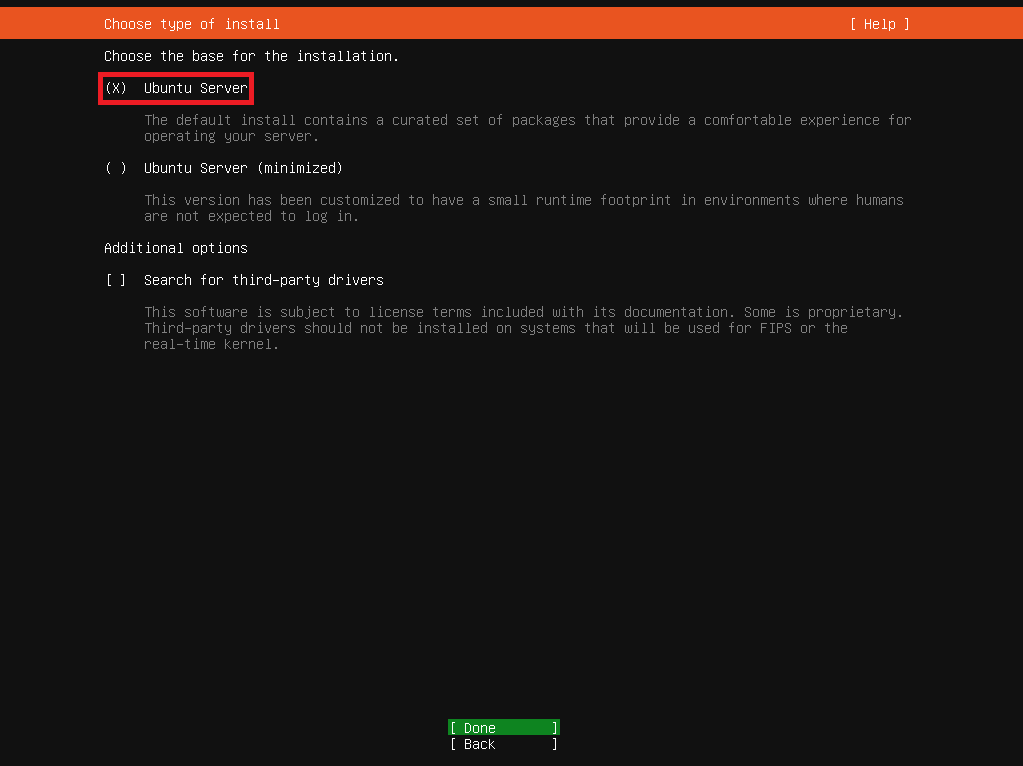
[Choose type of install]より、インストールするタイプを選択します。今回は、[Ubuntu Server]を選択しました。
設定が完了したら、[Done]を押下します。
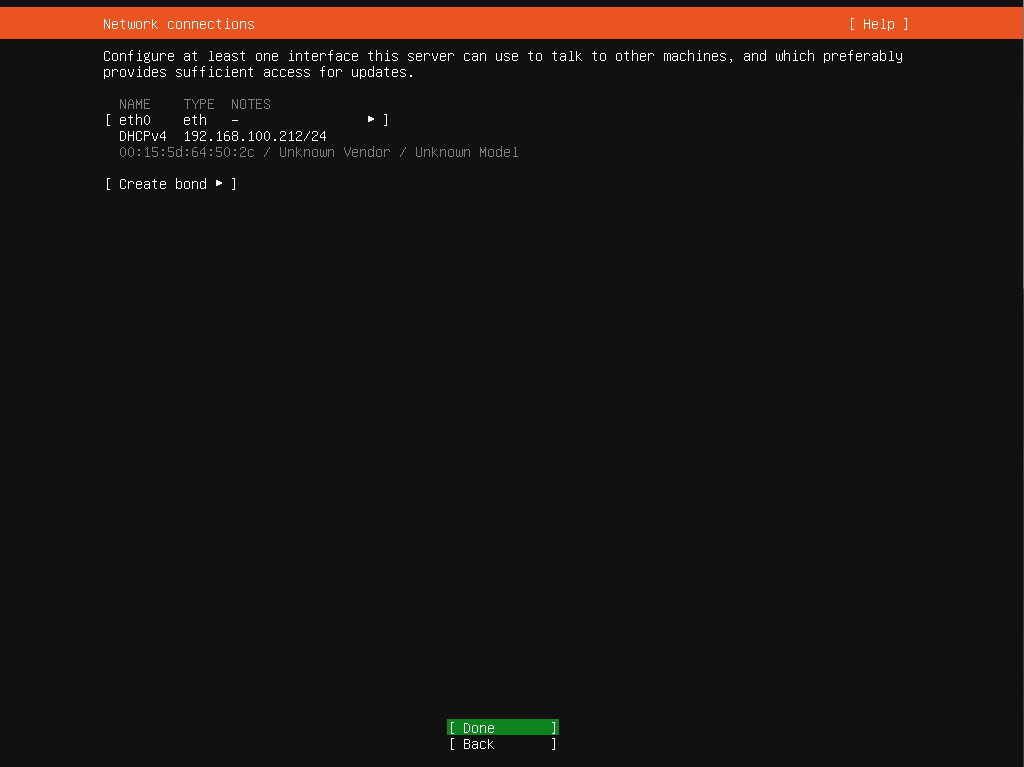
[Network connections]よりネットワークの設定を行うことができます。
この時点でubuntu Server のIPアドレスを設定することができます。
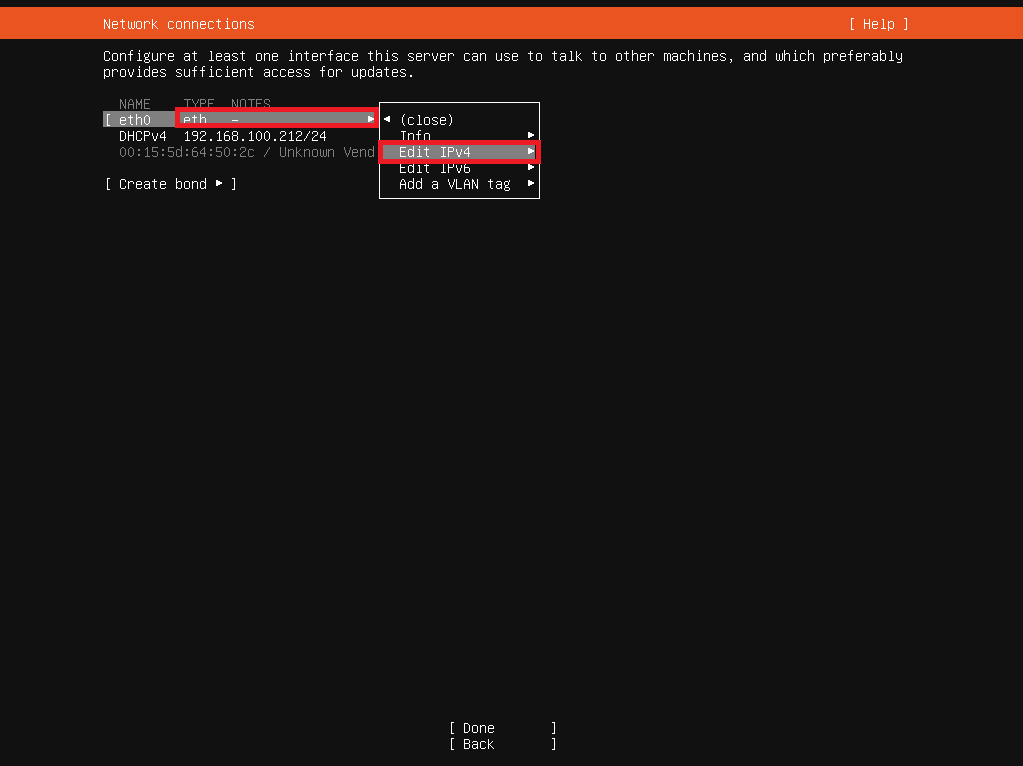
ネットワークアダプタを選択し、[Edit IPv4]を押下します。
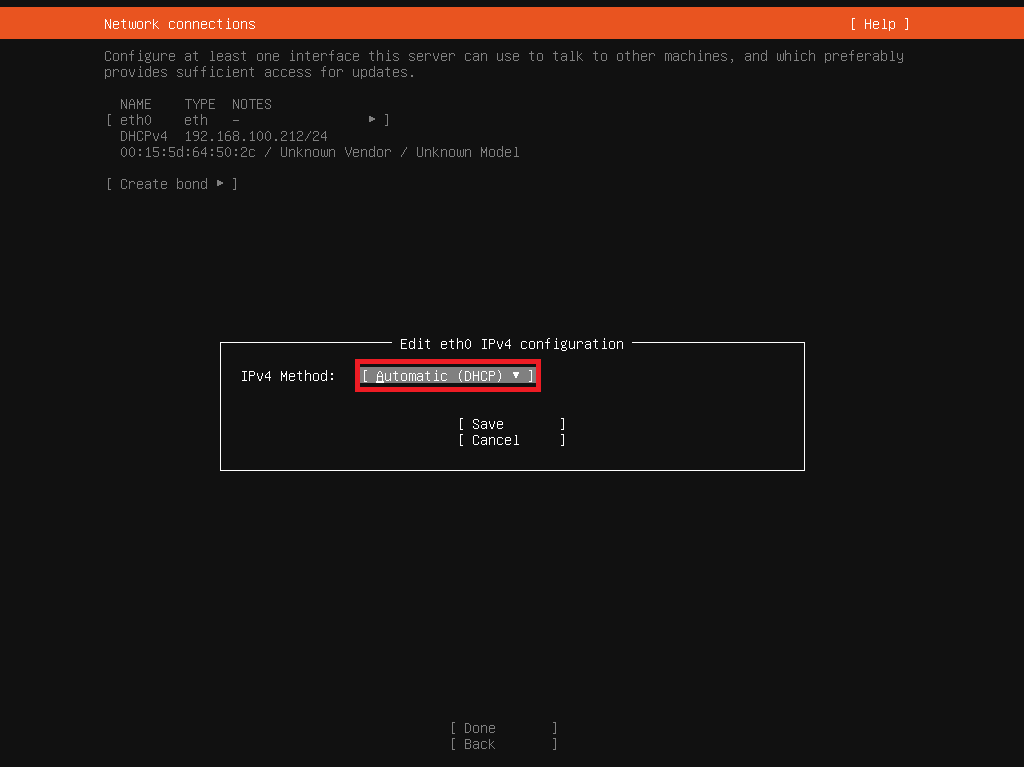
[Edit eth0 IPv4 configuration]より、[IPv4 Method]を[Manual]に設定します。
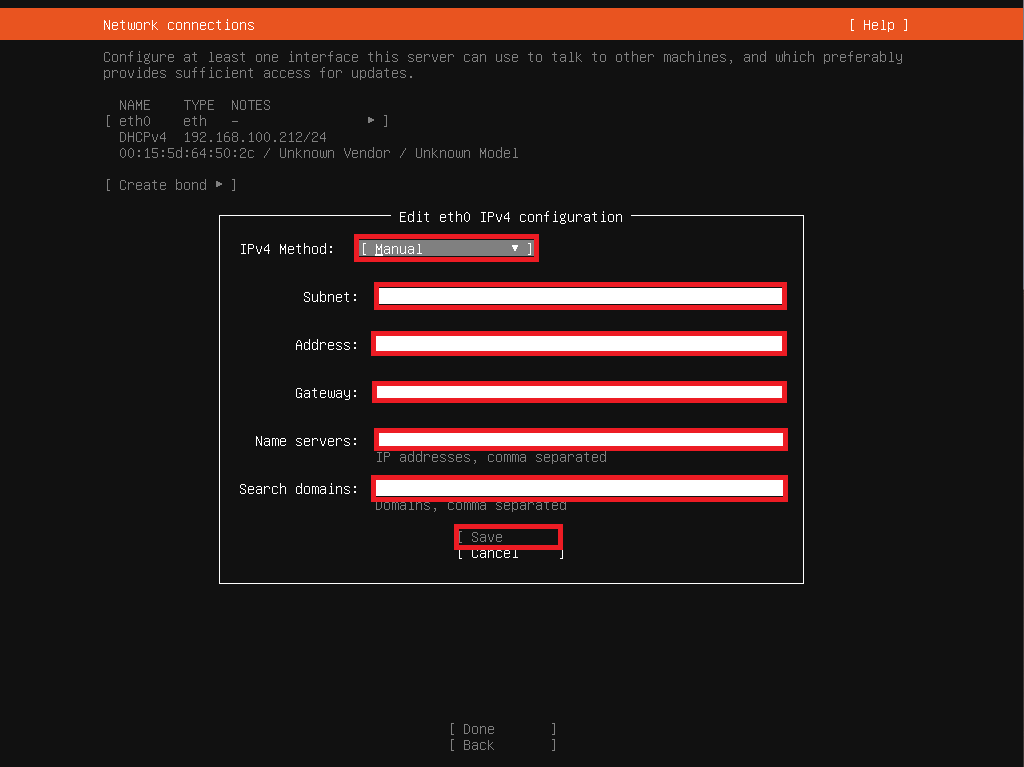
[Edit eth0 IPv4 configuration]より、以下の設定を行います。
- Subnet : <192.168.0.0>形式で所属するネットワークを設定
- Address : <192.168.0.1>形式でIPアドレスを設定
- Gateway : <192.168.0.254>形式でネットワークのゲートウェイを設定
- Name server : DNSサーバを設定
- Search domain : ネットワーク内で使用するドメインがあれば設定
設定が完了したら、[Save]を押下します。
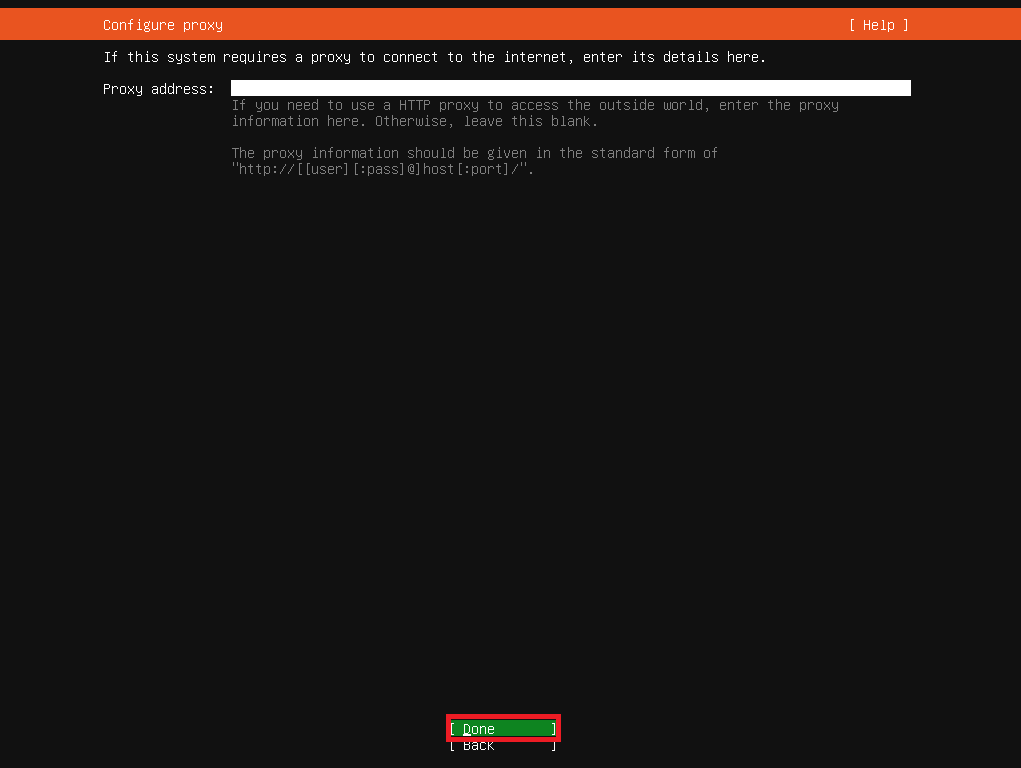
[Configure proxy]より、ネットワークにProxyがある場合はProxyサーバのアドレスを指定します。
設定が完了したら、[Done]を押下します。
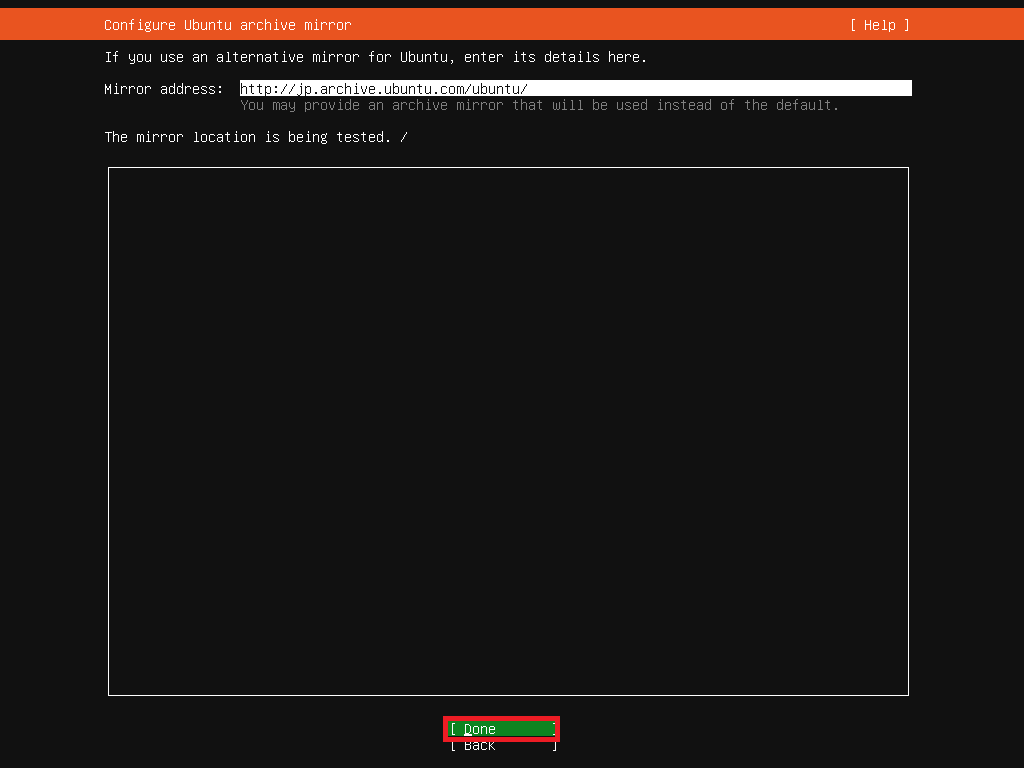
[Configure Ubuntu archive mirror]より、Ubuntuのアーカイブミラーを設定します。
通常は自動で近い場所のアーカイブが指定されるので、特に指定が無ければ設定を行わずに[Done]を押下します。
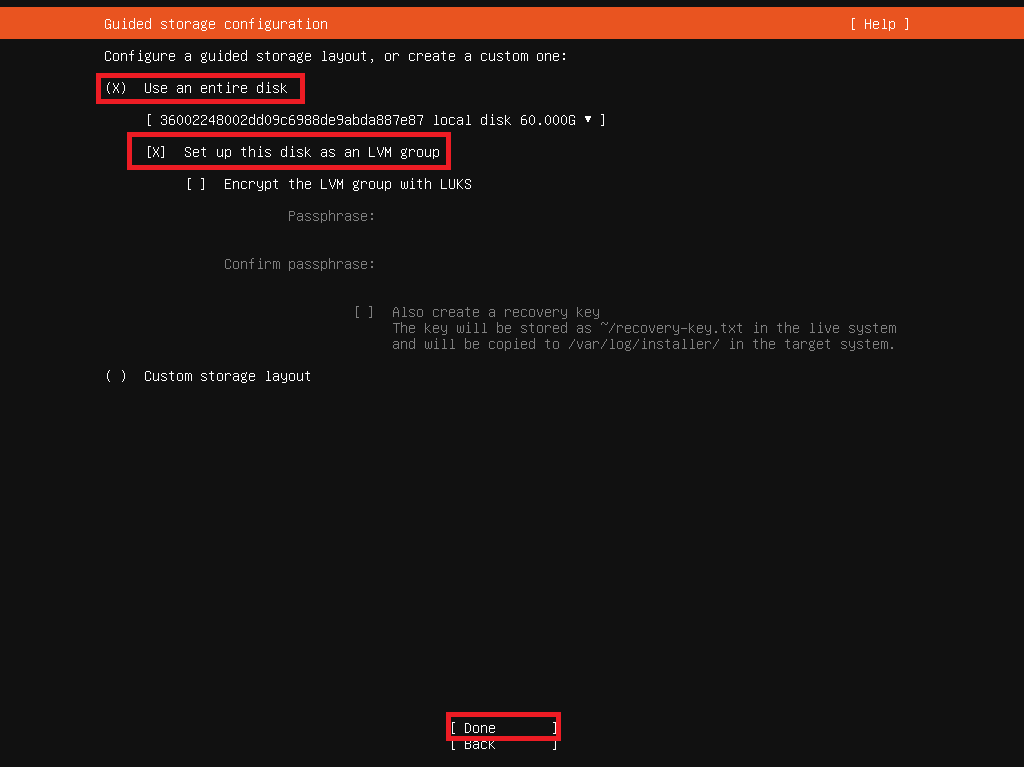
[Guided storage configuration]よりインストールするディスクを設定します。
今回はデフォルトでインストールを行うため、以下の設定を行います。
- Use an entire disk : (X)
- Set up this disk as an LVM group : (X)
設定が完了したら、[Done]を押下します。
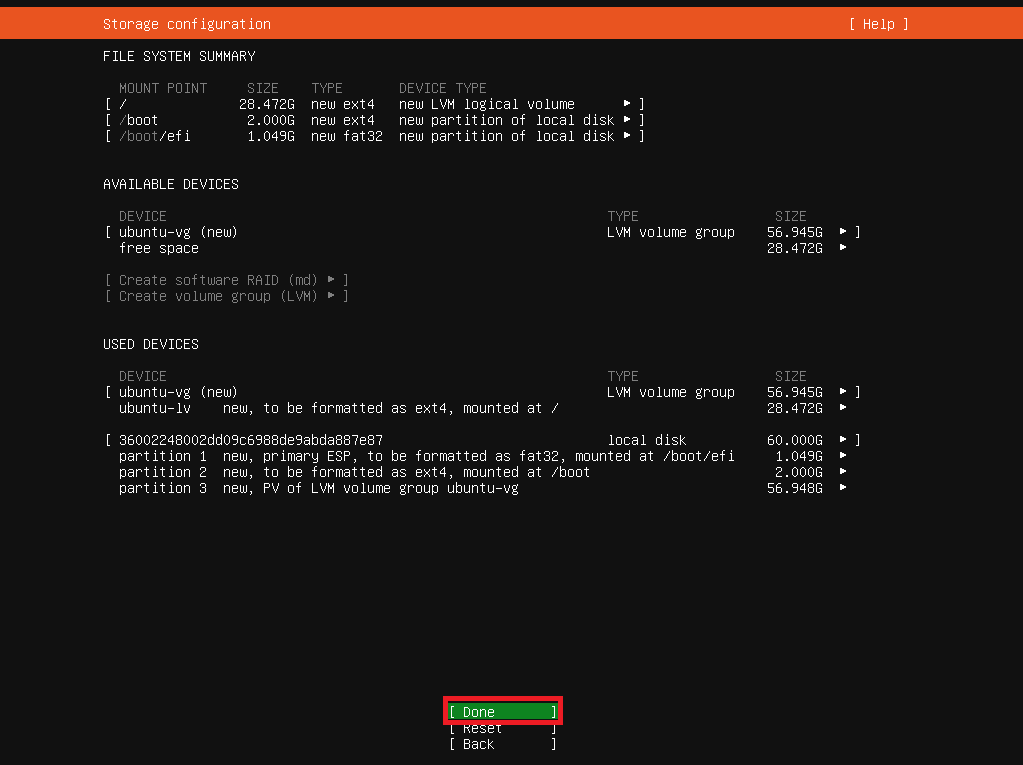
[Storage Configuration]より、ディスクパーティションを確認し問題ないようであれば[Done]を押下します。
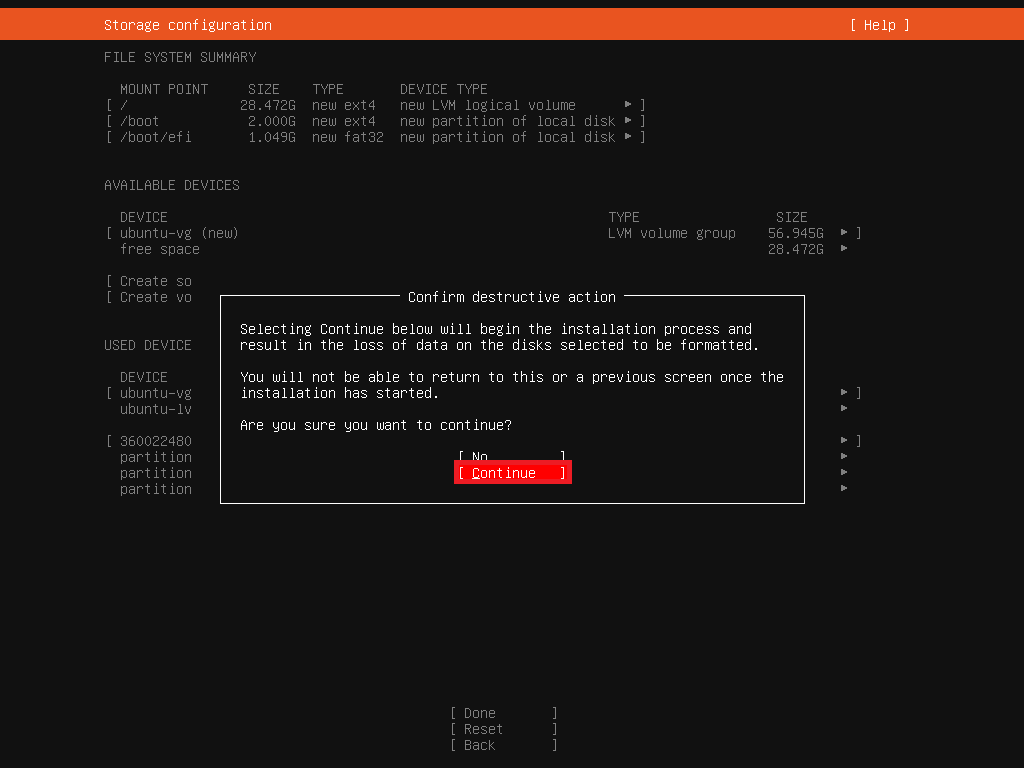
[Confirm destructive action]より、ディスクへの書き込みに問題が無い場合は[Continue]を押下します。
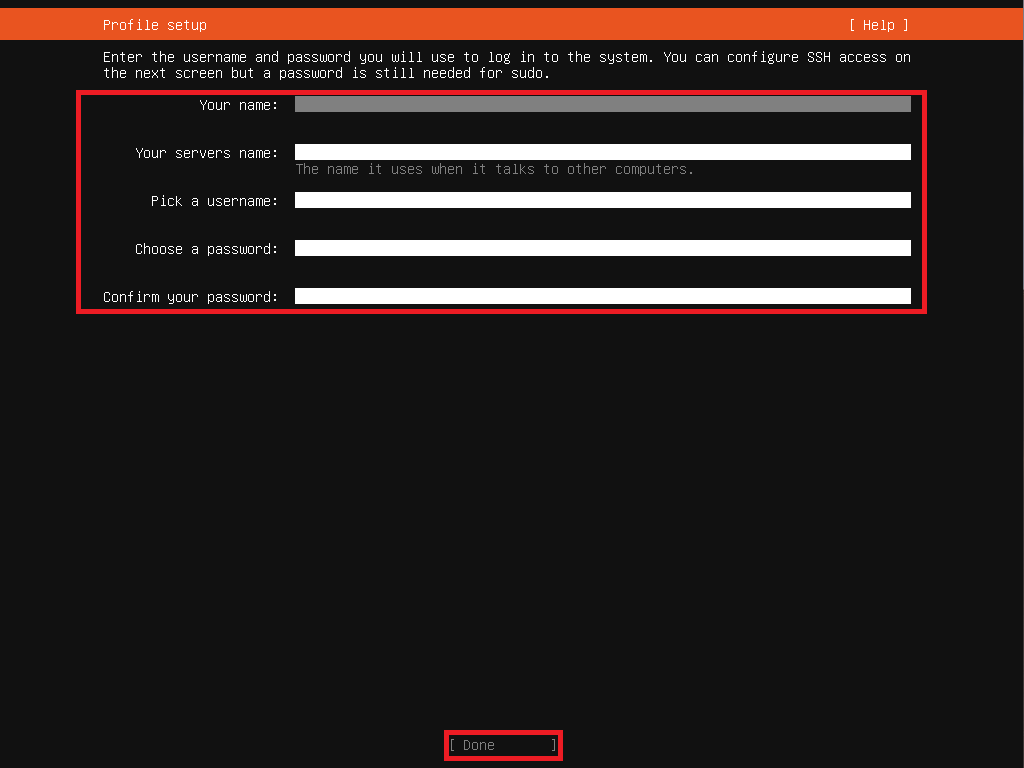
[Profile setup]より、以下の設定を行います。
- Your name : 自身の名前を設定
- Your servers name : このOSのホスト名を設定
- Pick a username : 自身のユーザ名を設定
- Choose a password : 自身のユーザに対するパスワードを設定
- Confirm your password : 再度パスワードを入力
設定が完了したら[Done]を押下します。
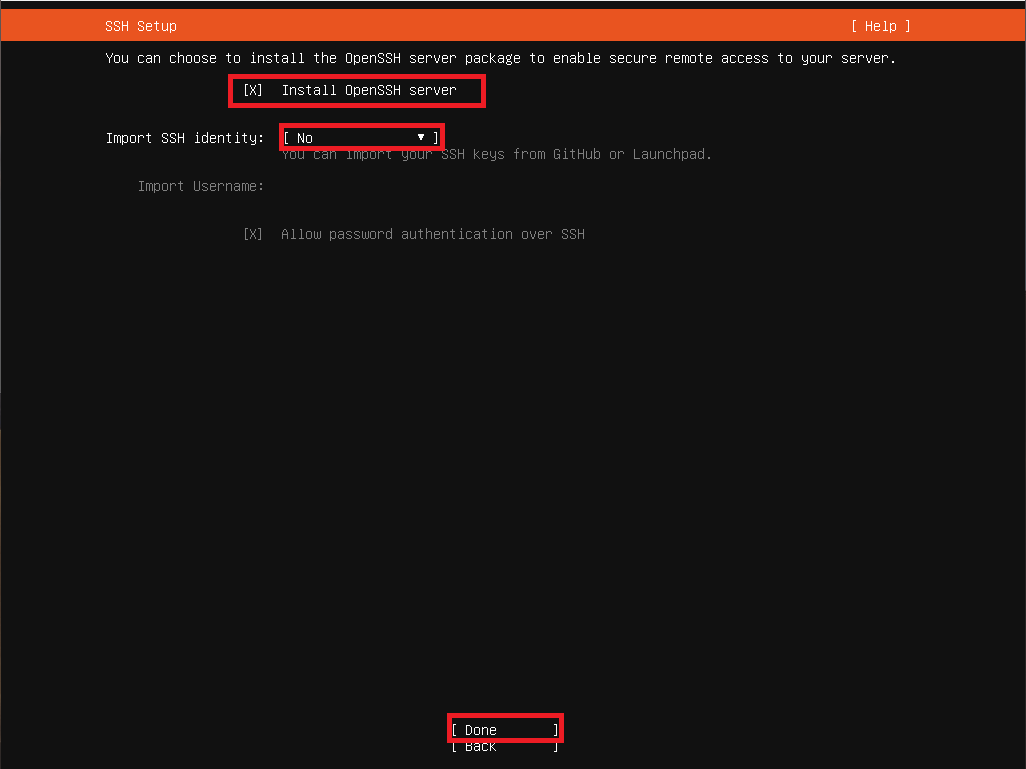
[SSH Setup]より、OpenSSHサーバをインストールするか設定します。
今回は、LAN内からSSHを行いたいため、[Install OpenSSH server]にチェックを入れています。
また、必要に応じてSSHキーをインポートしてください。
設定が完了したら[Done]を押下します。
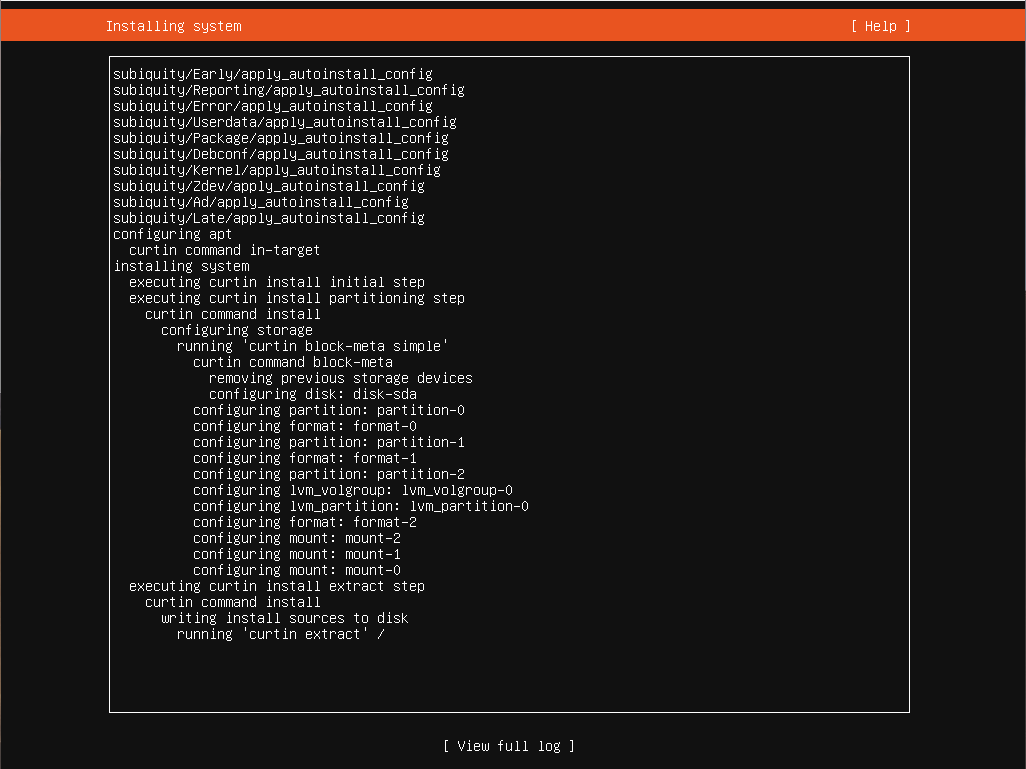
インストールが開始されるため、完了するまで待機します。
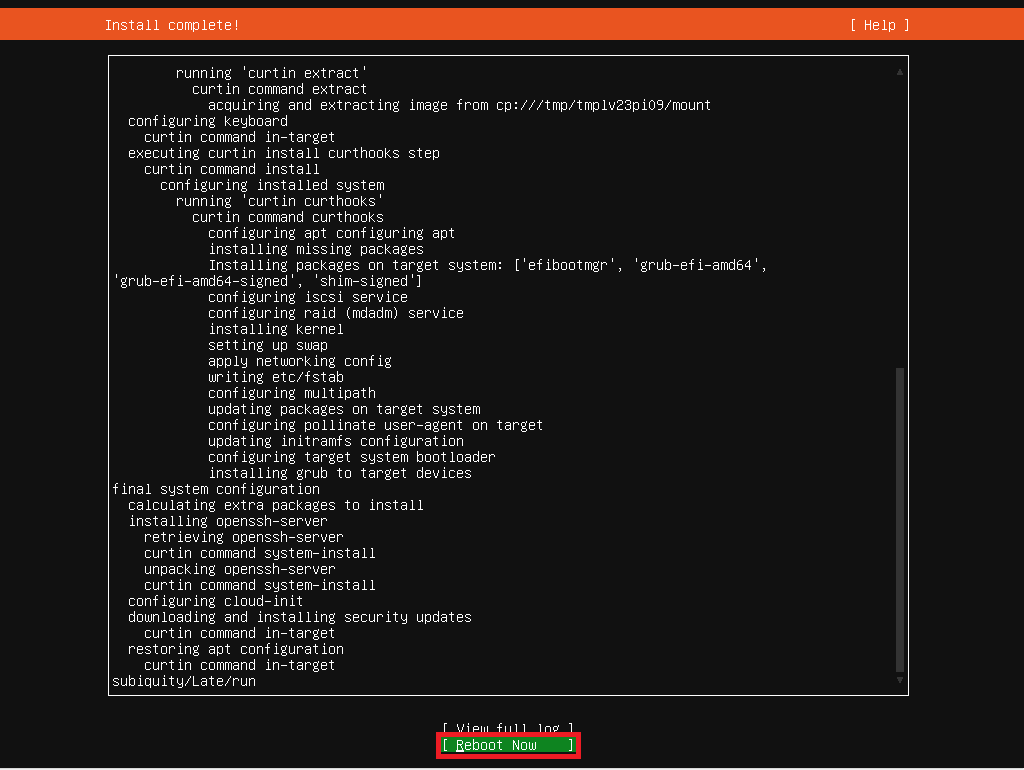
インストールが完了すると画面下に[Reboot Now]が表示されるため、[Reboot Now]を押下し、OSを再起動します。
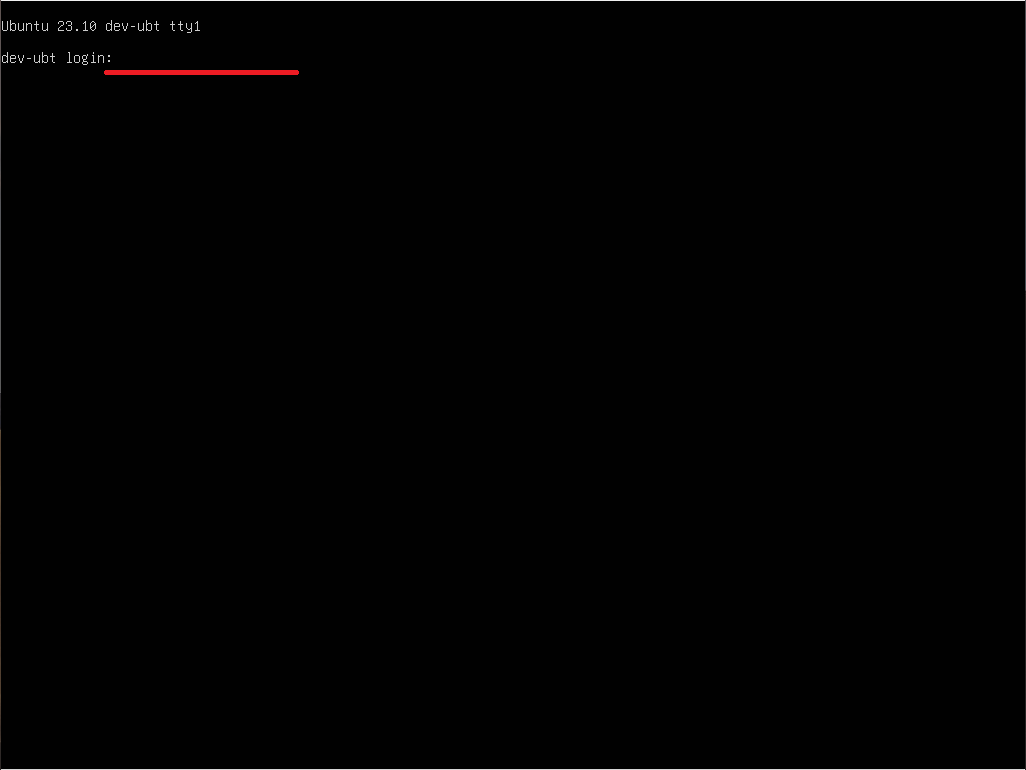
インストール後の再起度が完了すると、ログイン画面が表示されるため、作成したユーザでログインします。
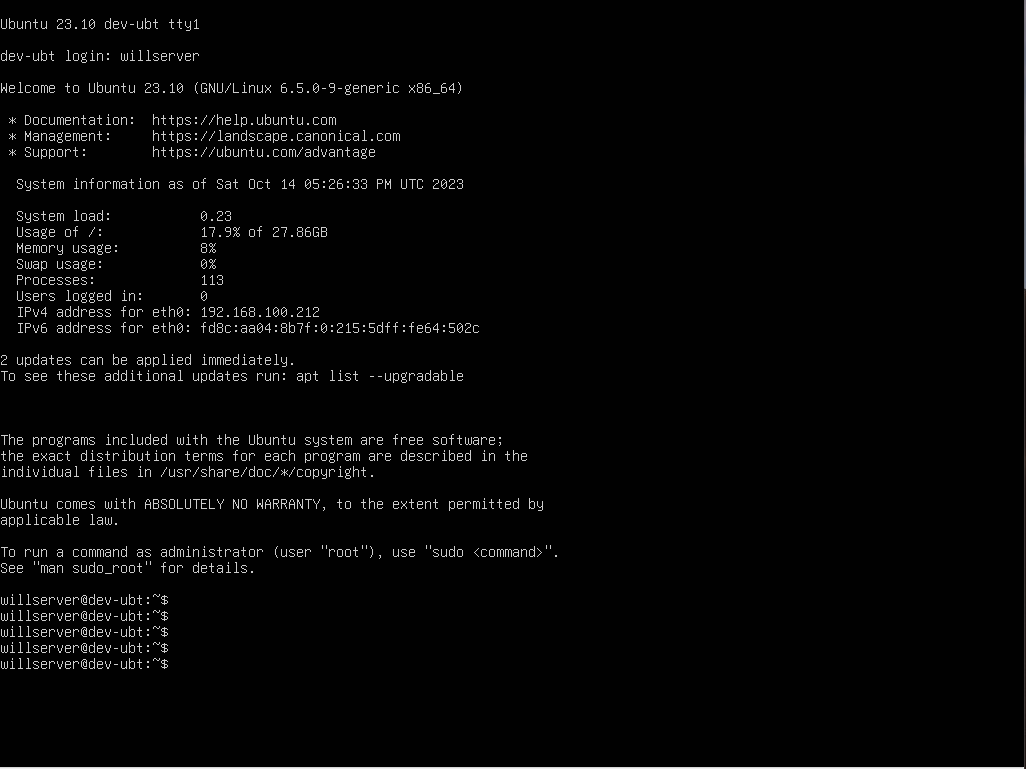
ログインが成功すると、ターミナルが表示されます。
以上でUbutnu Server 23.10のインストールは完了です。
まとめ
今回はUbuntu 23.10 ServerをHyper-Vの仮想マシンにインストールしました。
Ubuntuのマイナーバージョンのため、サポート期間を考えるとサーバ利用されるケースは少ないと思います。
Ubuntuのデスクトップ版は23.10でインストーラが変わったとの情報がありましたが、Ubuntu Serverの方は22.04のLTSと同様のインストーラーでした。
おまけ
本ブログではVMwareやWindows、Linuxのインストール手順等も公開しております。
インフラエンジニアとして有益な記事や無益なコンテンツも作成しておりますので、通勤時間や休憩時間、休日のスキマ時間等に合わせて読んでいただけると幸いです。
また、Youtubeで解説動画も鋭意作成中です。本ブログで記事にしているものも動画にしようと思っておりますので、よろしくお願いいたします。
willserverのnoteも開設したのでフォローお願いします。


コメント