

今回はオープンソースのルータ・ファイアウォールソフトウェアであるpfSense Community Edition 2.6.0をHyper-V上にインストールしていきます。
期待する目標
本手順で期待する目標は以下の通りです。
- pfSenseをインストールすることができる
- pfSenseの初期設定ができる
前提条件
本手順で使用する仮想マシン・ネットワーク構成は以下の通りです。
【仮想マシン】
- CPU : 2vCPU
- MEM : 4GB
- DISK : 60GB
- NIC1 : WAN側想定
- NIC2 : LAN側想定
ネットワーク構成は以下の通りです。
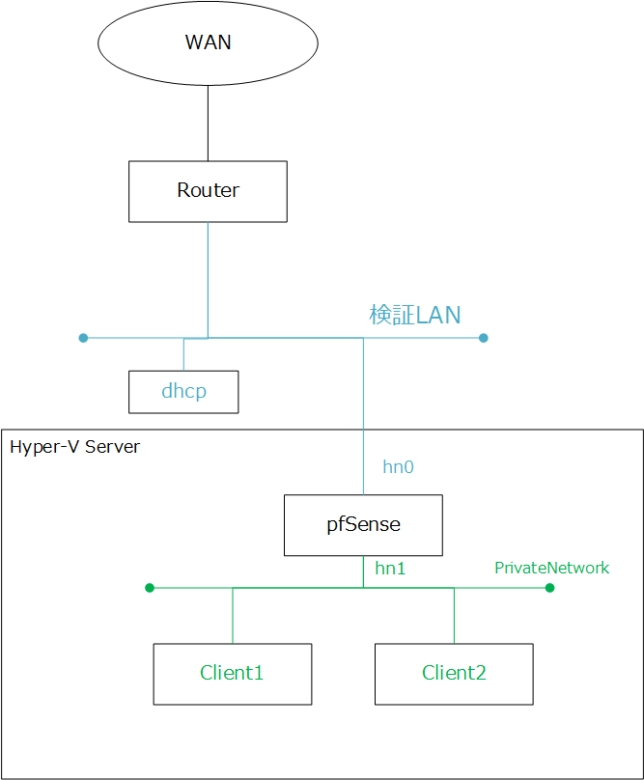
仮想マシンのNIC1は、検証環境のLAN(PublicNetwork相当)に接続し、検証環境のDHCPサーバからIPを振ります。
NIC2は、Hyper-V内の閉塞されたネットワーク(PrivateNetwork相当)を作成し、pfSense自体のDHCPによってアドレスを割り振ります。
そのため、Hyper-V内のPrivateNetwork内にいるクライアントは、pfSenseからIPを取得し、pfSenseがルーターとなることで、pfSense LANネットワーク→pfSense(GW)→検証LAN(GW)→インターネットとルーティングされ、外部に通信ができるようになります。
pfSenseダウンロード
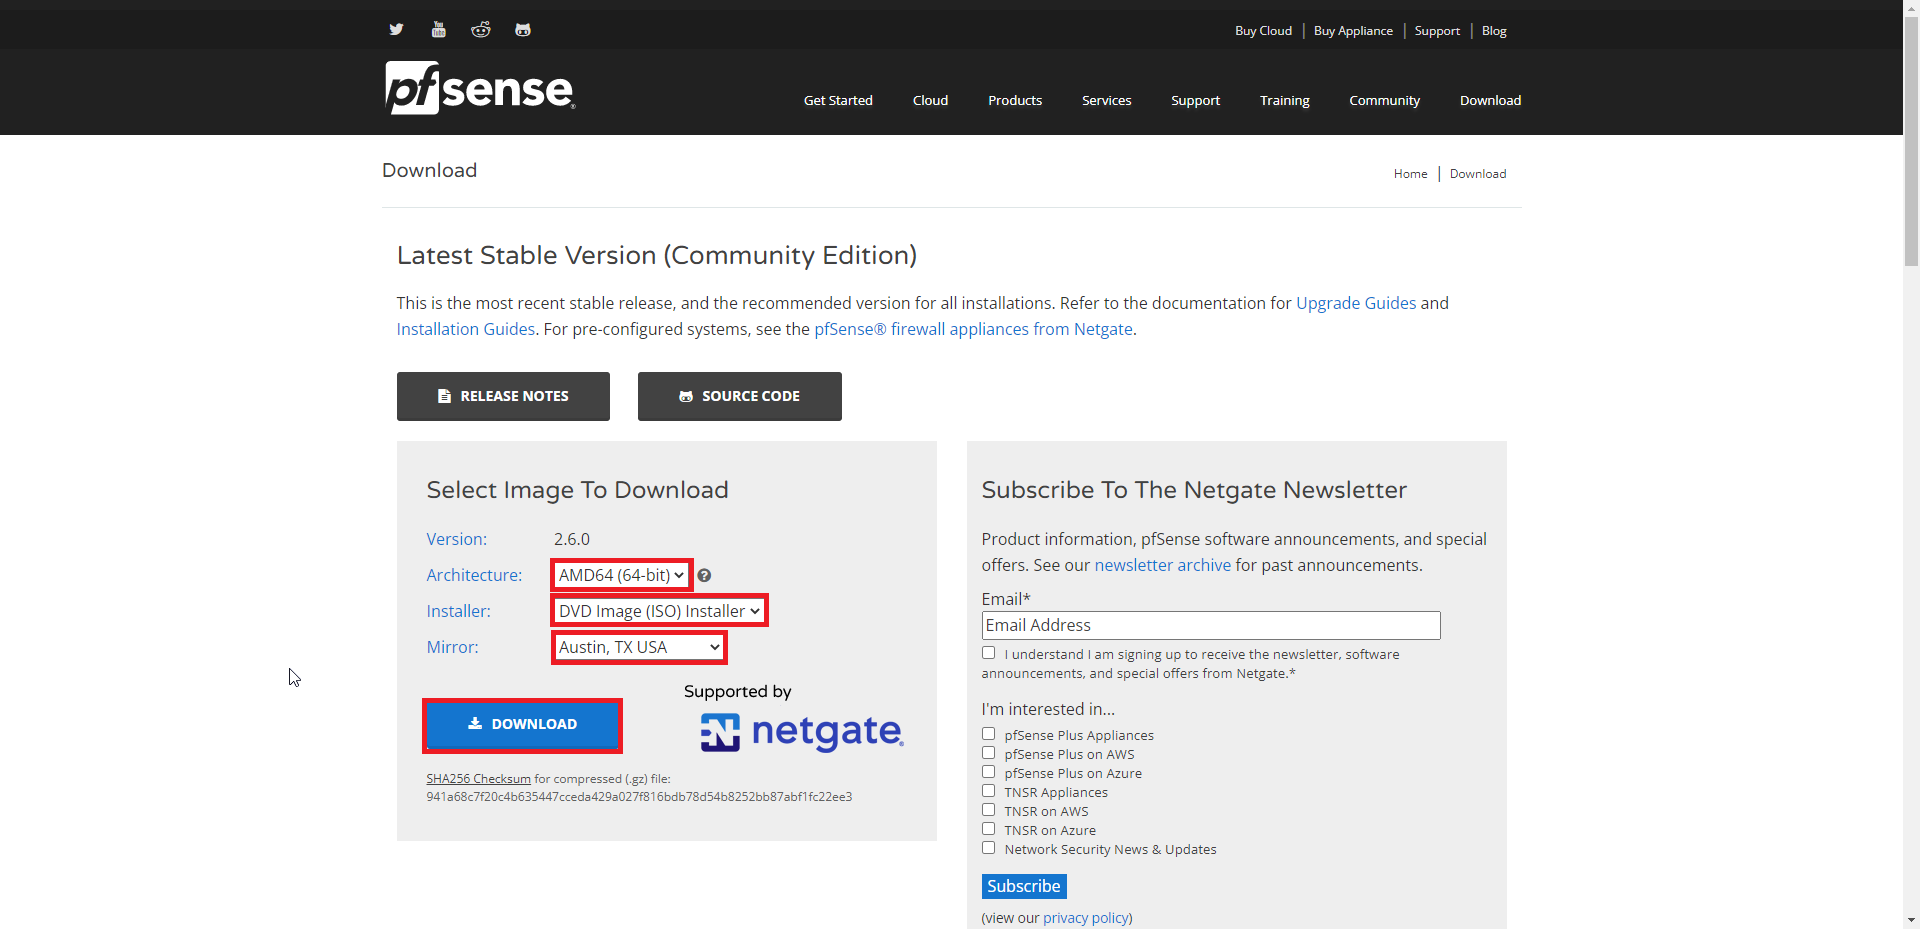
以下のURLより、pfSenseのダウンロードページにアクセスします。
URL : https://www.pfsense.org/download/
[Select Image To Download]より、環境に沿った項目を選択します。
今回は、Hyper-Vの仮想マシンとして使用するため、以下の項目を選択しました。
- Version : 2.6.0
- Architecture : AMD64 (64bit)
- Installer : DVD Image(ISO) Installer
- Mirror : Austin, TX USA
選択が完了したら、[DOWNLOAD]を押下します。
DVDイメージでダウンロードした場合、.gzファイルでダウンロードされるので、解凍することで、ISOファイルが抽出できます。
pfSenseインストール
Hyper-Vのネットワーク、仮想マシンを設定し、ダウンロードしたISOファイルをマウントし起動します。

[Welcome to pfSense]より、[Enter]を押下します。
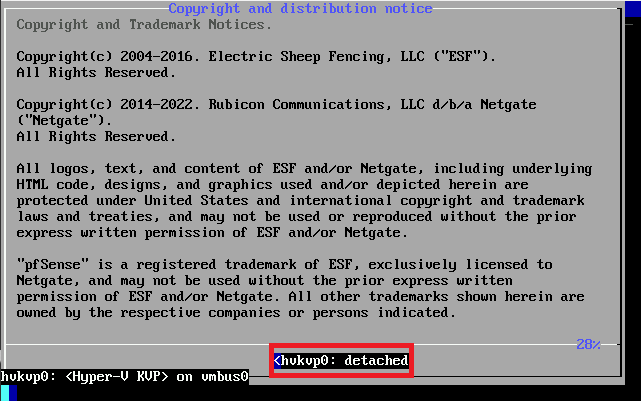
[Copyright and distribution notice]より、[Accept]を押下します。
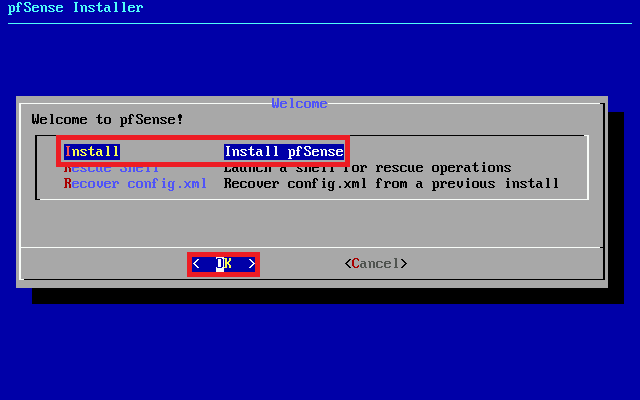
[Welcom]より、[Install]を選択し、[OK]を押下します。
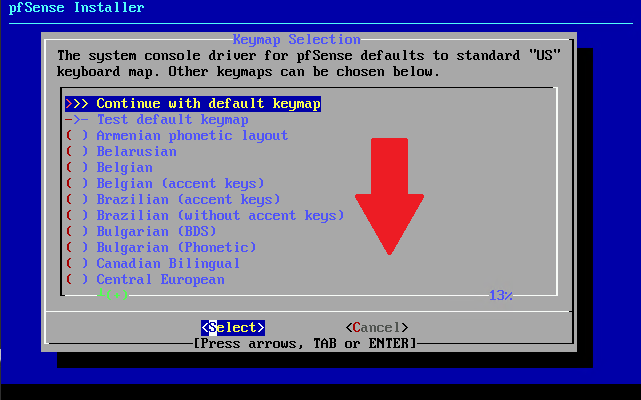
[Keymap Selection]より、下に移動します。
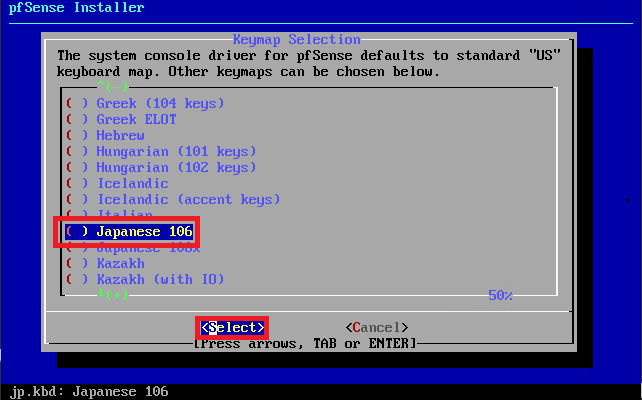
キーマップ一覧より、[Japanse 106]を選択し、[Select]を押下します。
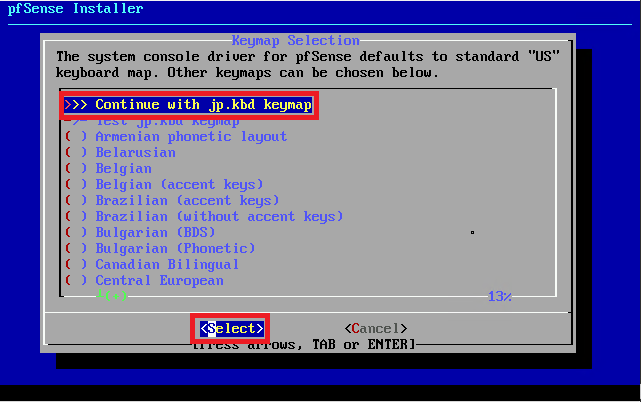
[Continue with jp.kbd keymap]と選択されていることを確認し、[Select]を押下します。
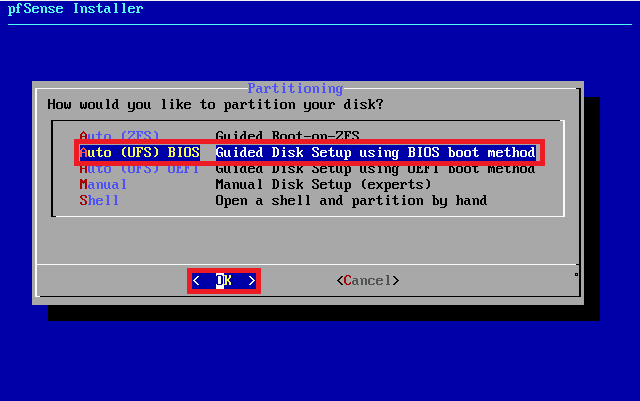
[Partitioning]より、任意のパーティショニングを設定します。
今回は、[Auto (UFS) BIOS]を選択し、[OK]を押下します。
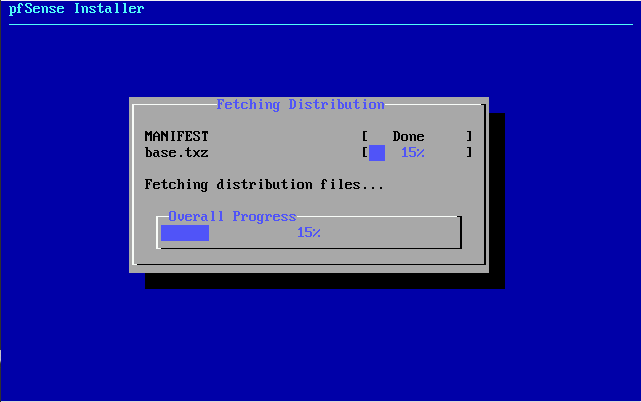
インストールが開始されるので完了するまで待機します。
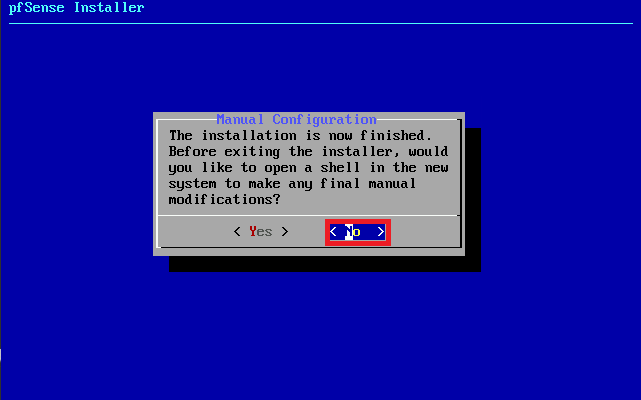
[Manual Configuration]より、[No]を押下します。
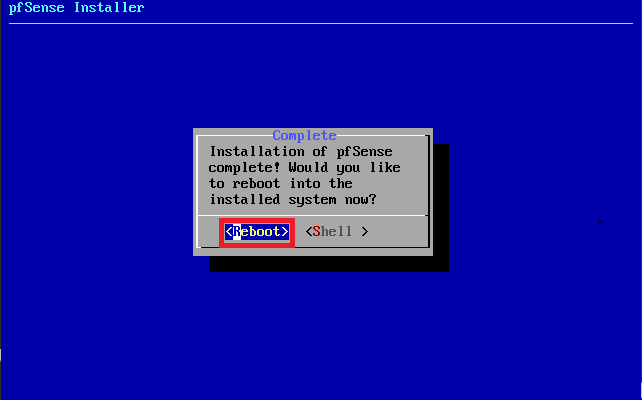
[Complate]より、インストールメディアを取り除き、[Reboot]を押下します。
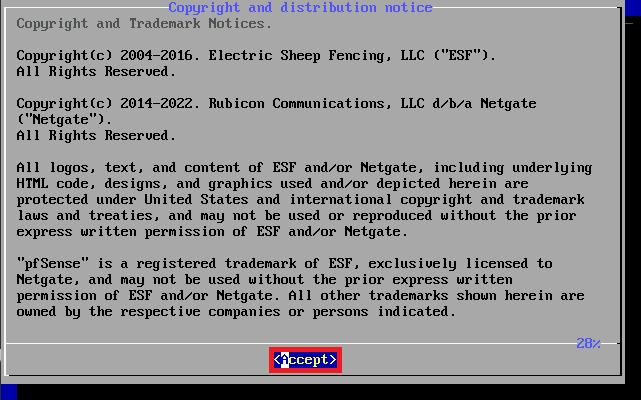
[Copyright and distribution notice]より、[Accept]を押下します。
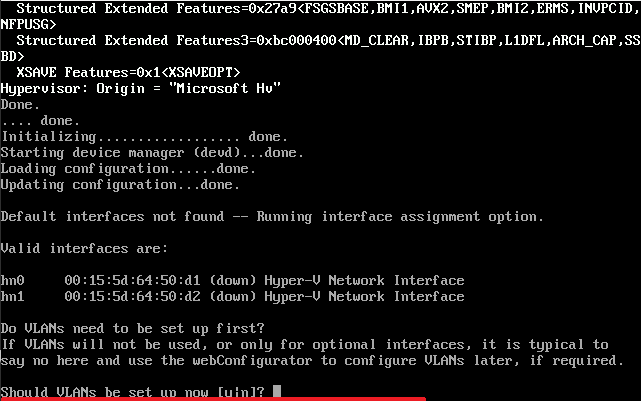
[Should VLANs be set up now]より、必要に応じてVLANの設定を行います。
今回はVLANを使用しないので、[n]を入力します。
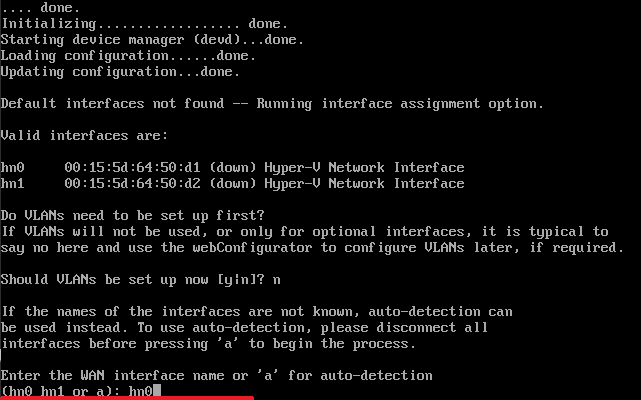
[Enter the WAN interface name or ‘a’ for auto-detection]より、WANに設定するNICを選択します。
本環境では、[hn0]がPublicNetwork相当のNICのため、[hn0]を選択します。
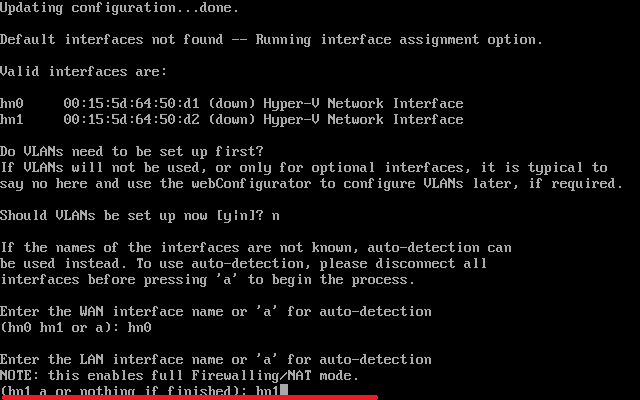
[Enter th LAN interface name or ‘a’ for auto-detection]より、LANに設定するNICを選択します。
本環境では[hn1]がPrivatenetwork相当のNICのため、[hn1]を選択します。

[The interface will be assigned as follows]より、WANとLANのNICの割り当てを確認して[y]を入力します。
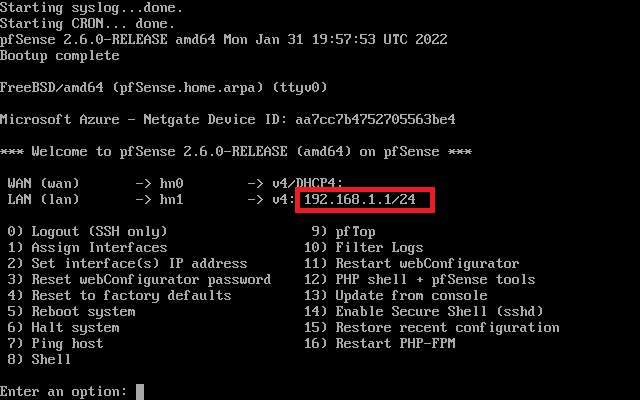
以上でコンソール設定が完了です。
設定すると、pfSenseのLAN側のアドレスが自動で設定されるので、確認しておきます。
以上でpfSenseのインストールは完了です。
pfSenseの初期設定
pfSenseのコンソール設定が完了したら、ブラウザより、pfSenseのIPアドレスにアクセスします。
URL : https://<pfSenseのIPアドレス>
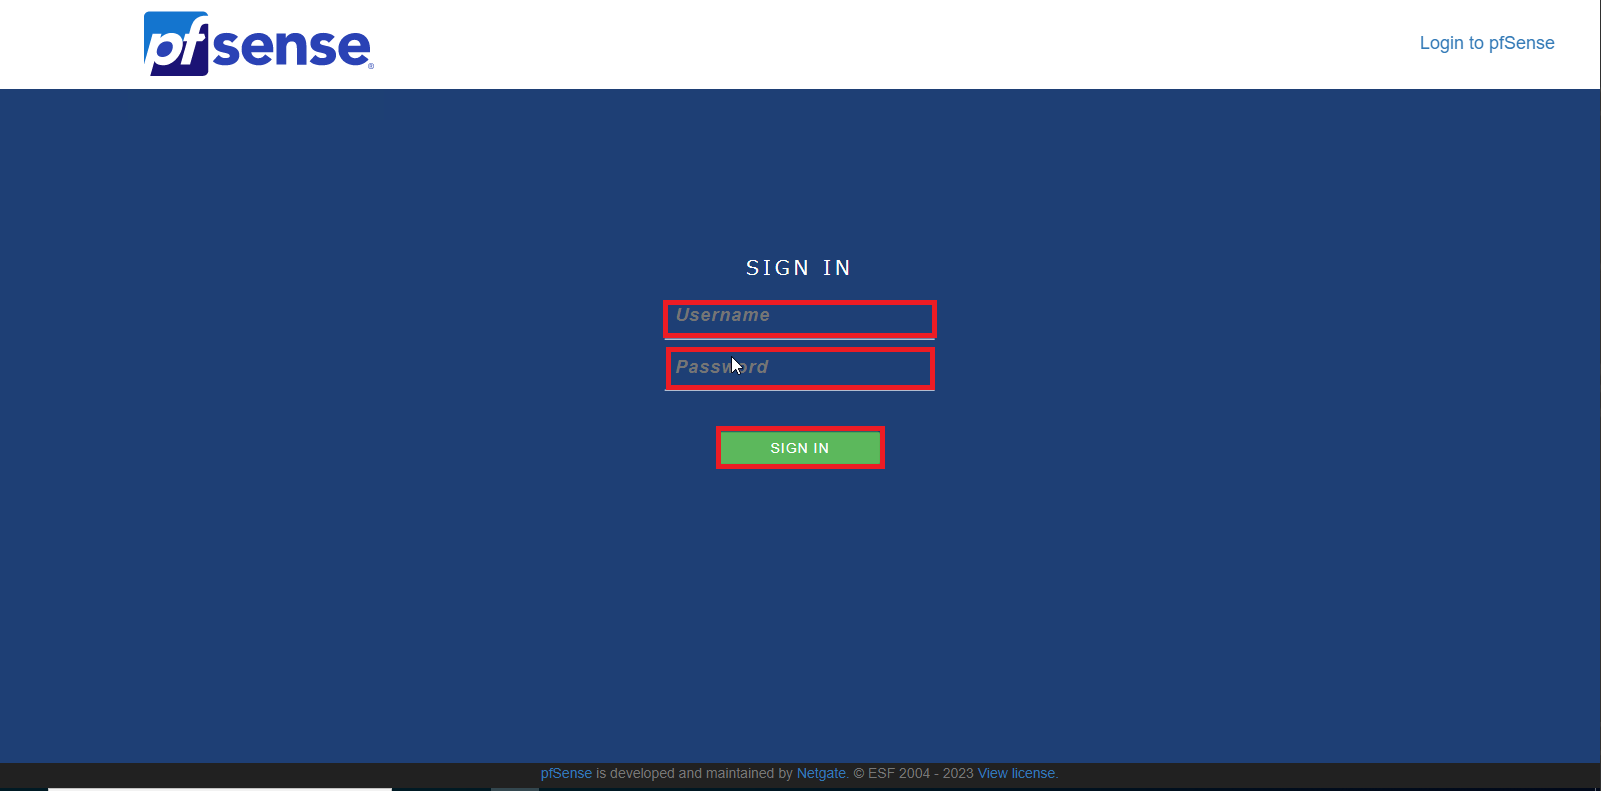
pfSenseのログイン画面より、以下のユーザ情報を入力を入力して、[SIGN IN]を押下します。
- Username : admin
- Password : pfsense
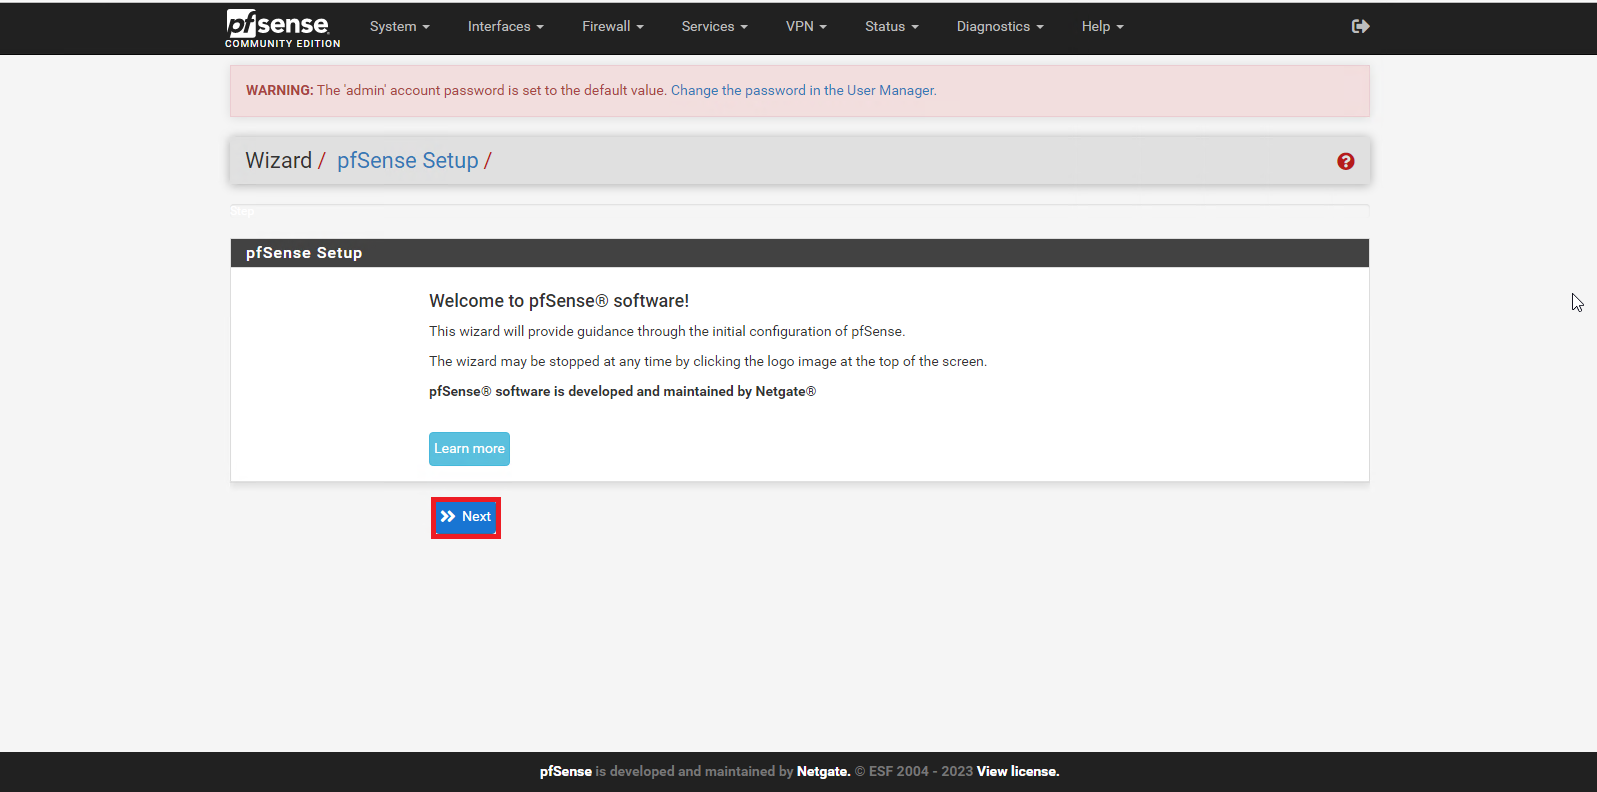
[pfSense Setup]より、[Next]を押下します。
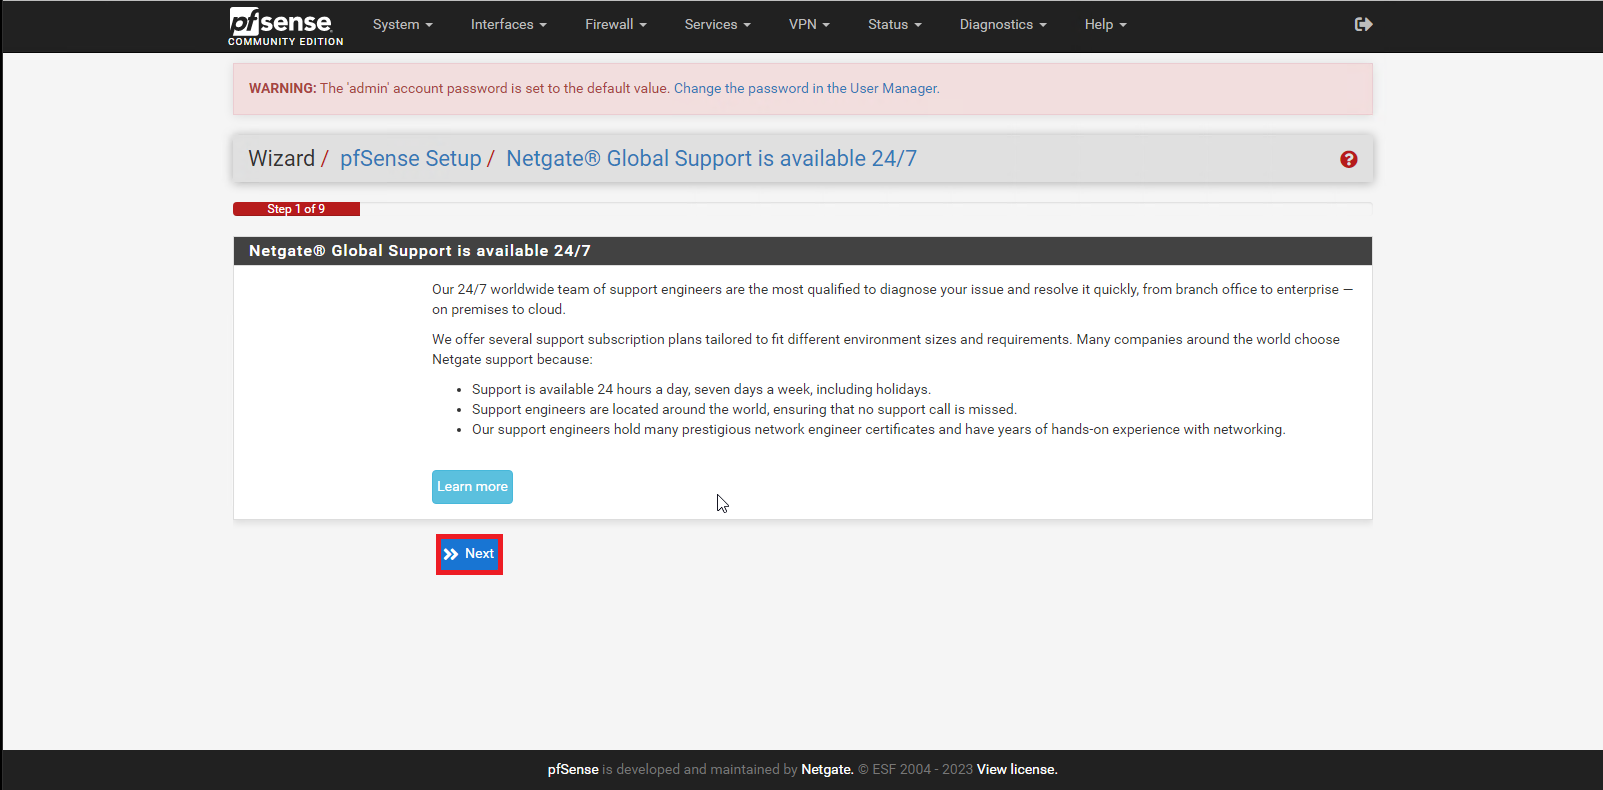
[Netgate Global Support is available 24/7]より、[Next]を押下します。
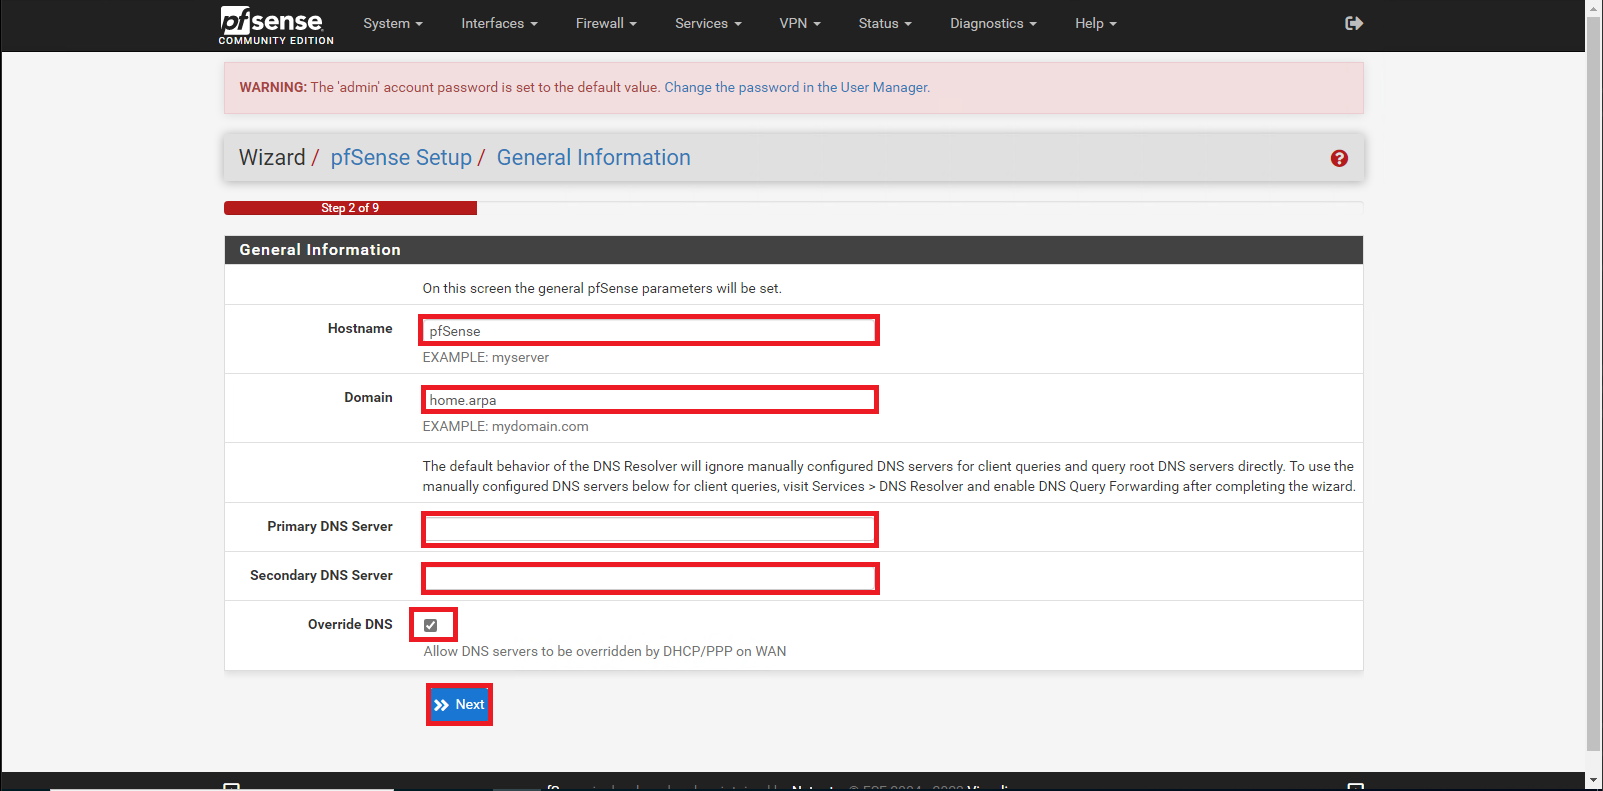
[General Information]より、以下の設定を行います。
- Hostname : pfSenseのホスト名を設定
- Domain : pfSenseのドメイン名を設定
- Primary DNS Server : 優先DNSサーバを設定
- Secondary DNS Server : 代替DNSサーバを設定
- Override DNS : □
設定が完了したら、[Next]を押下します。
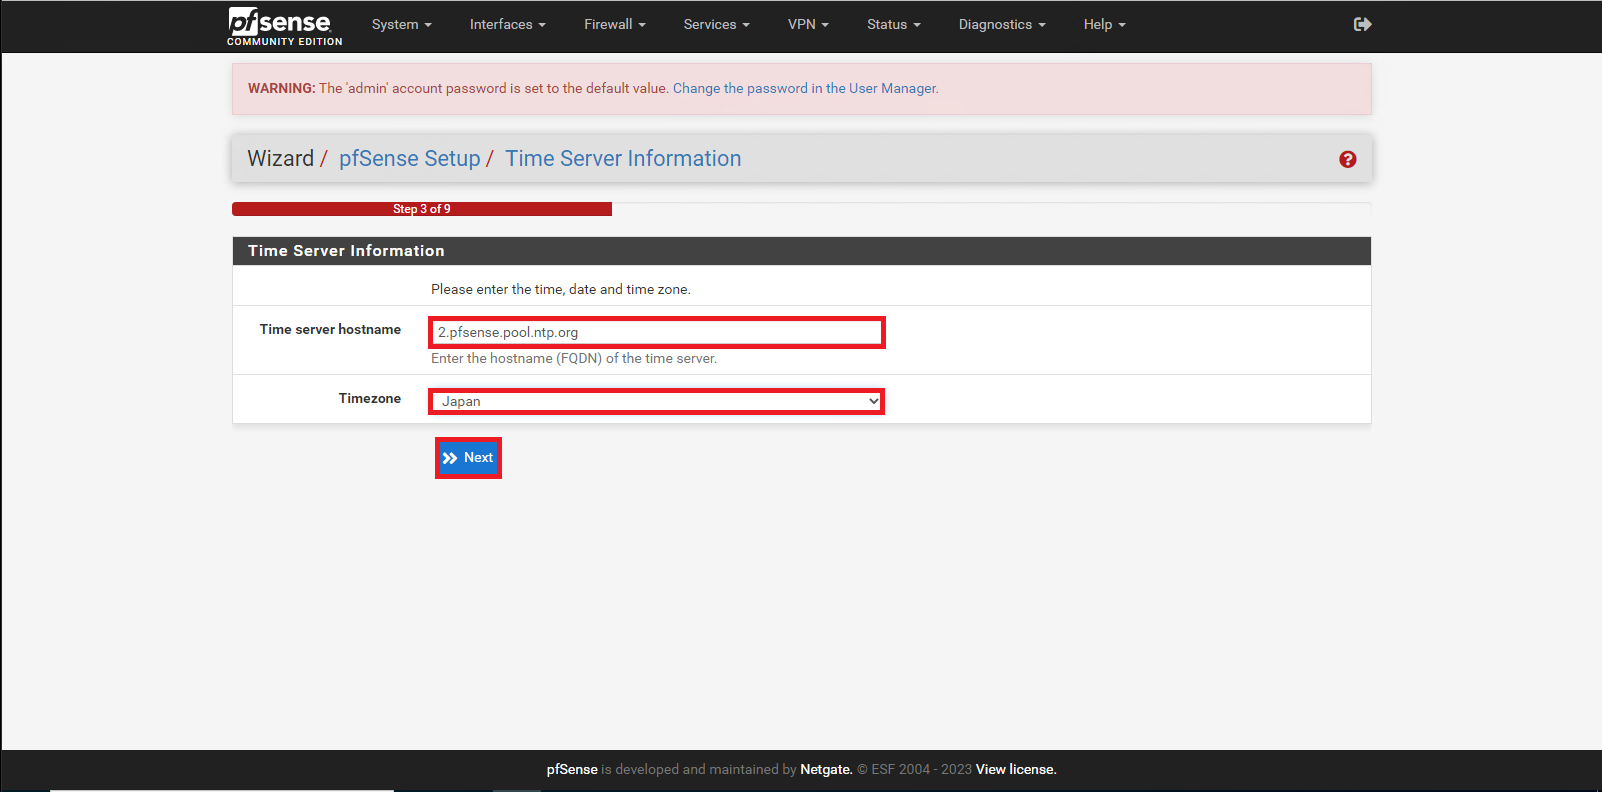
[Time Server Information]より、以下の設定を行います。
- Time server hostname : タイムサーバを設定
- Timezone : Japan
設定が完了したら、[Next]を押下します。
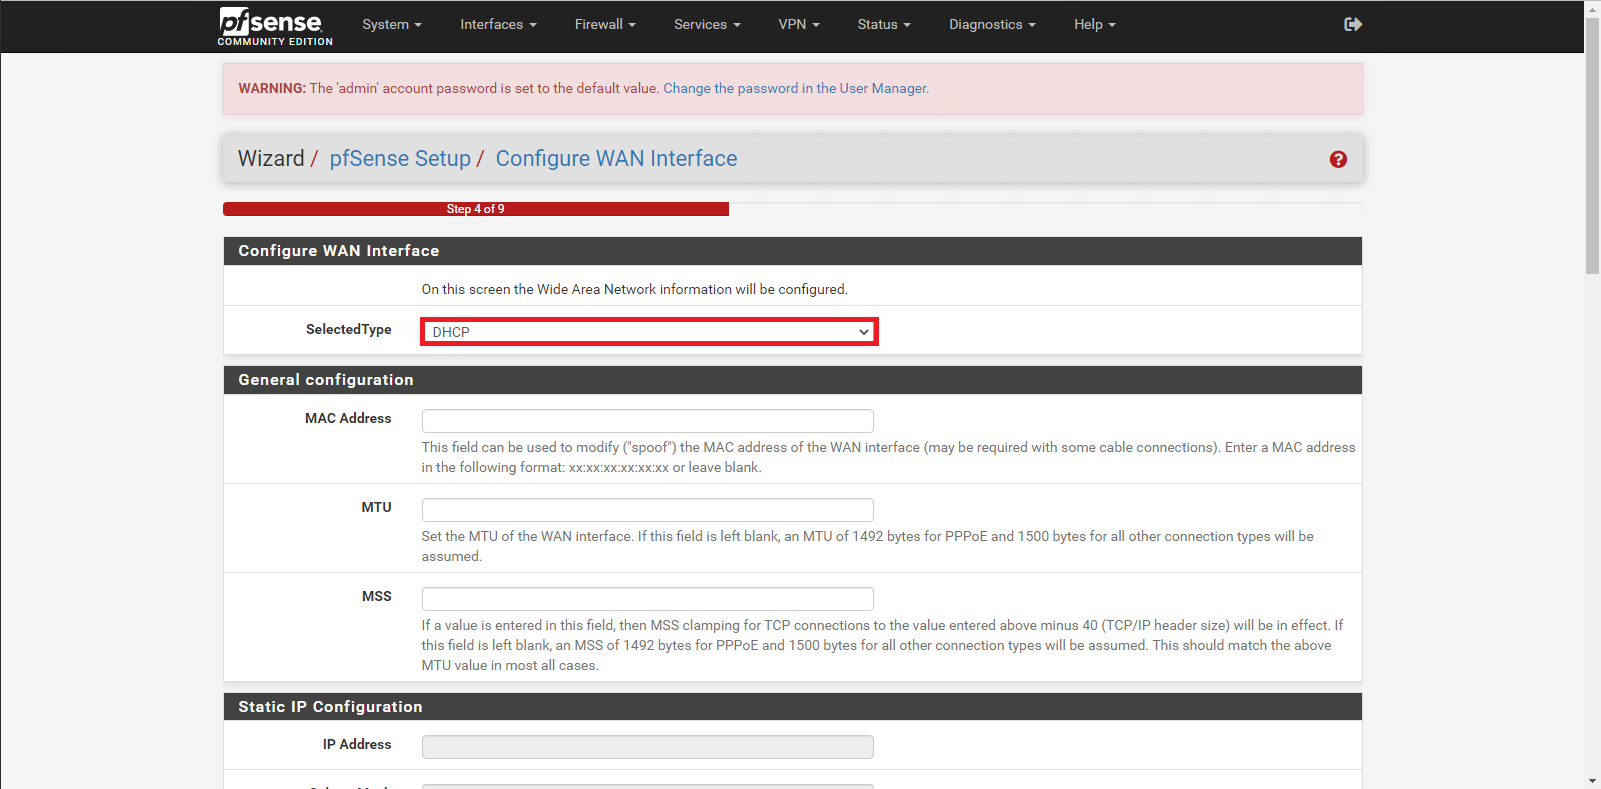
[Configure WAN Interface]では、WANインターフェースの設定ができます。
PPPoEの設定やPPTPなどの設定を行います。
今回は、WANといってもLANの中にあるため、DHCPで取得する以外は設定を入れていません。
設定が完了したら、[Next]を押下します。
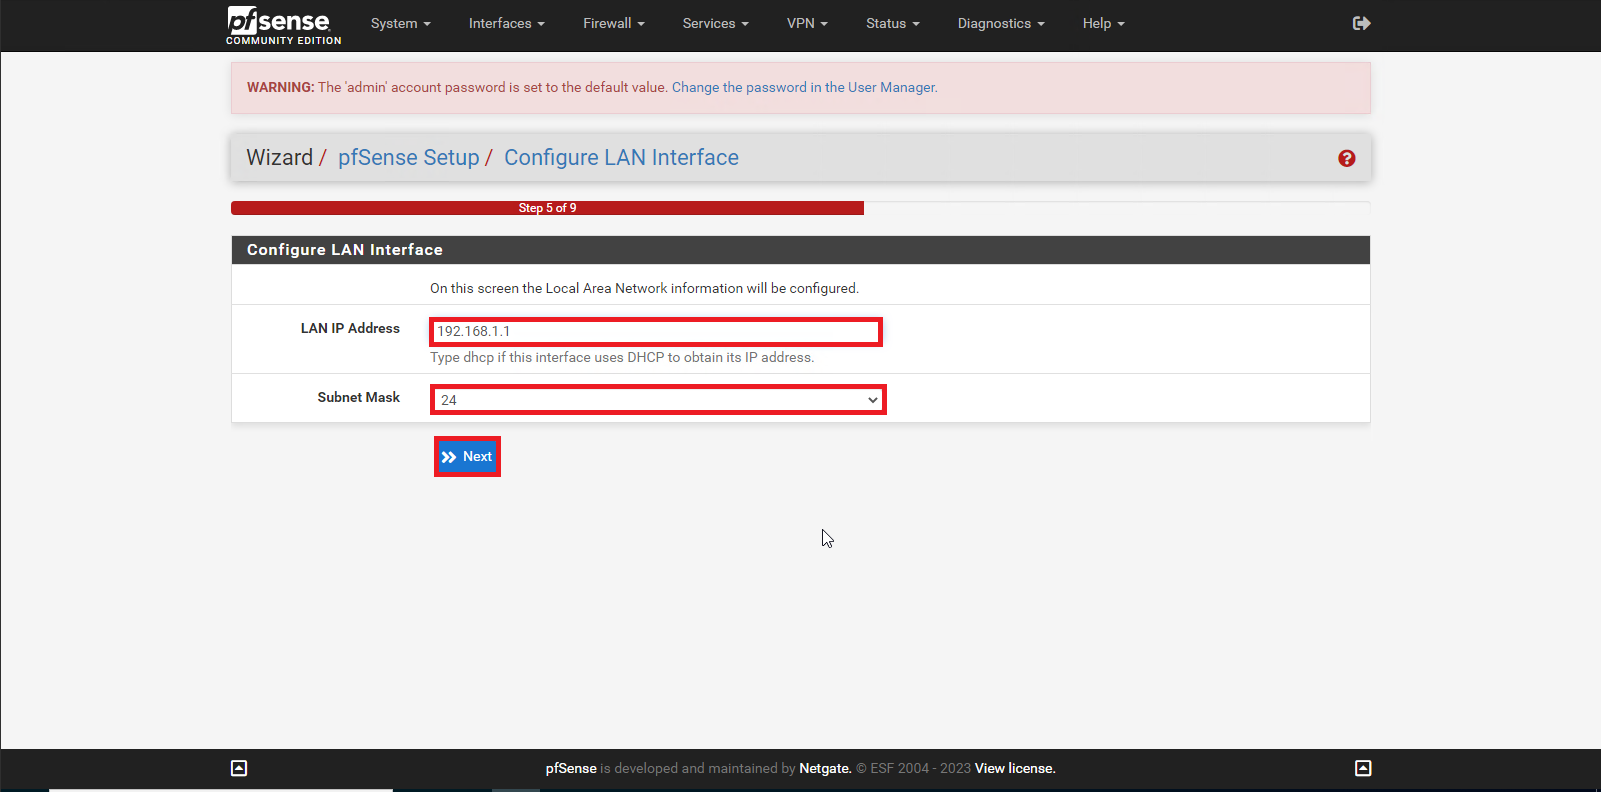
[Configure LAN Interface]より、以下の設定を行います。
- LAN IP Address : pfSenseのIPアドレスを設定
- Subnet Mask : pfSenseのIPアドレスのサブネットを設定
設定が完了したら、[Next]を押下します。
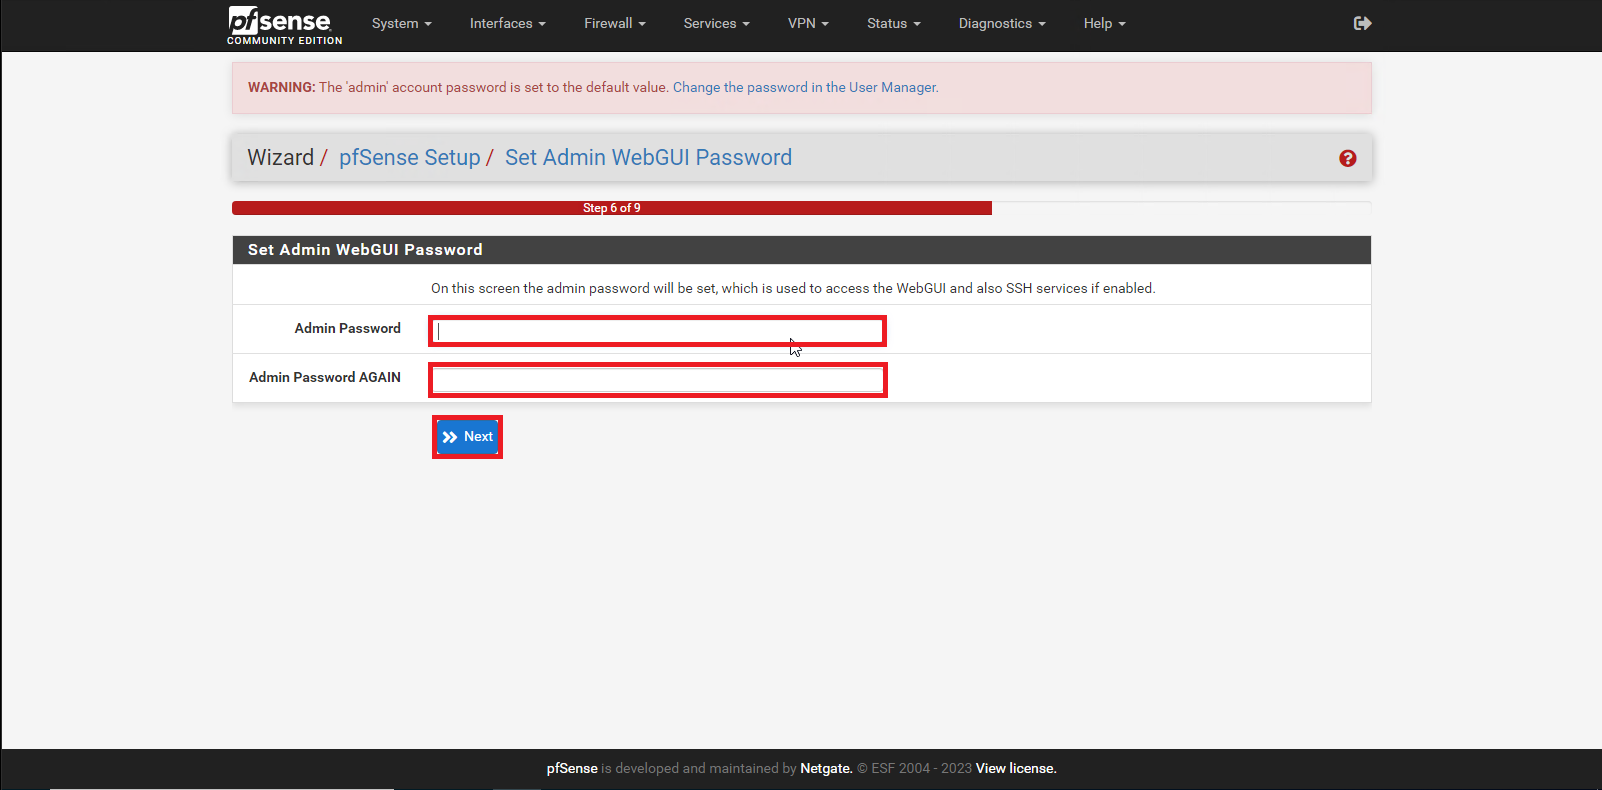
[Set Admin WebGUI Password]より、以下の設定を行います。
- Admin Password : pfSenseのAdminパスワードを設定
- Admin Password AGAIN : パスワードを再度設定
設定が完了したら、[Next]を押下します。
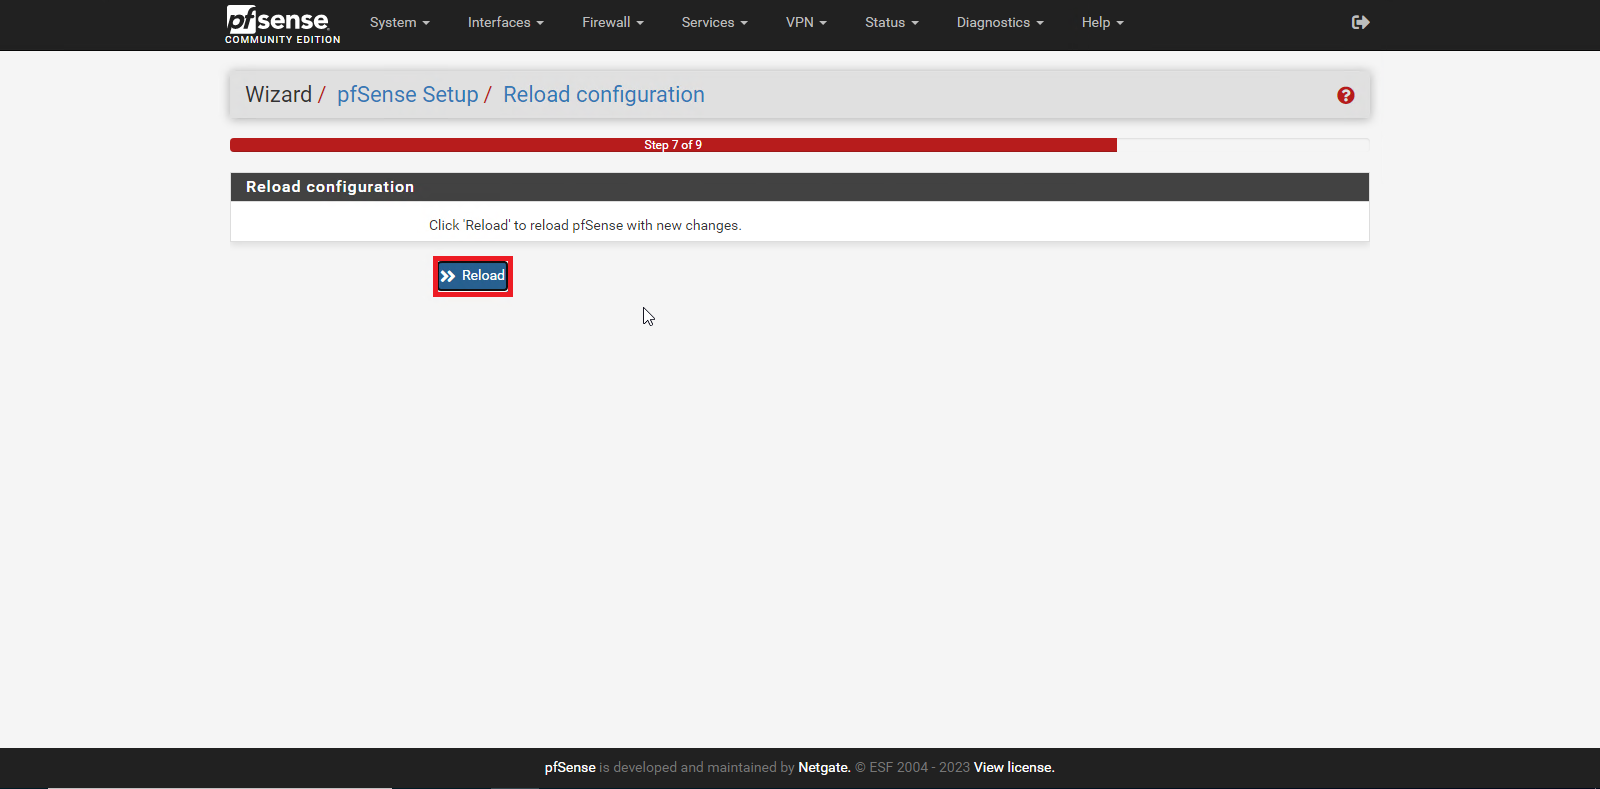
[Reload Configuration]より、[Reload]を押下します。
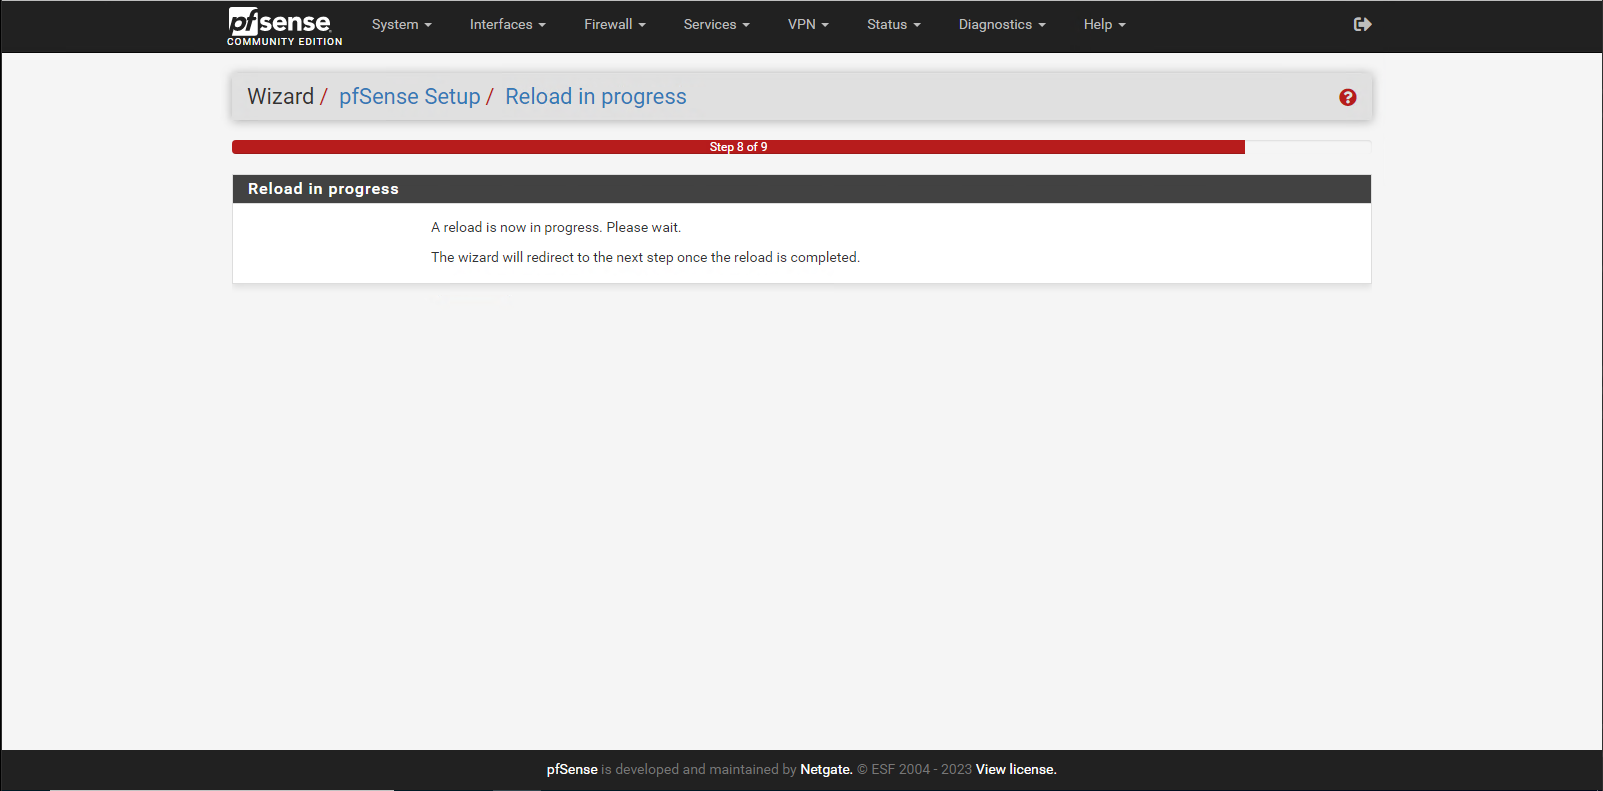
[Reload in progress]より、ページがリロードされるため、待機します。
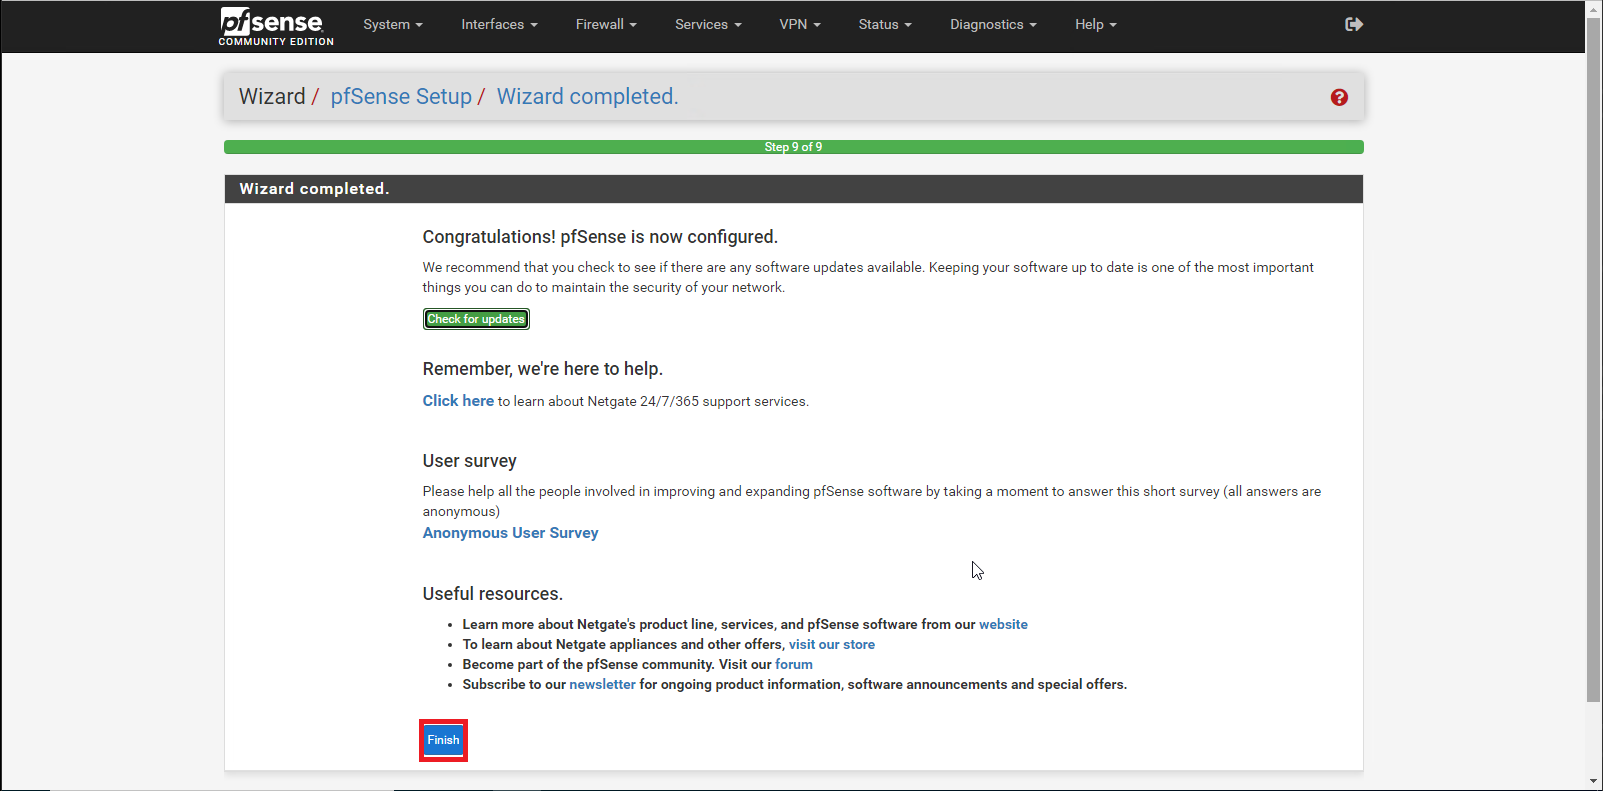
[Wizard completed]より、[Finish]を押下します。
以上でpfSenseの初期設定は完了です。

[Copyright and Trademark Notices]が表示されるため、[Accept]を押下します。
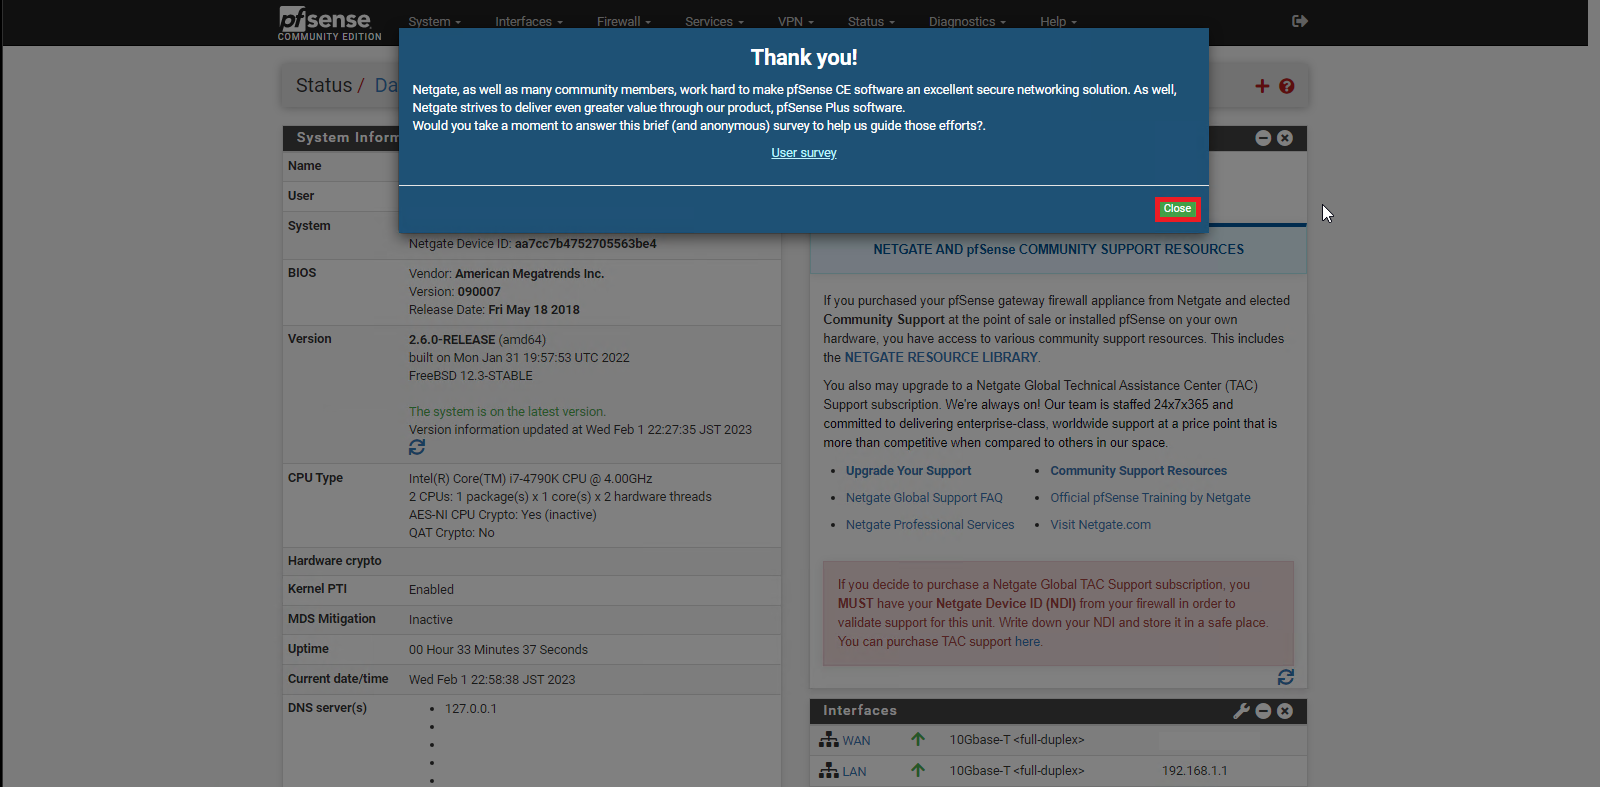
[Thank you!]より、[Close]を押下します。
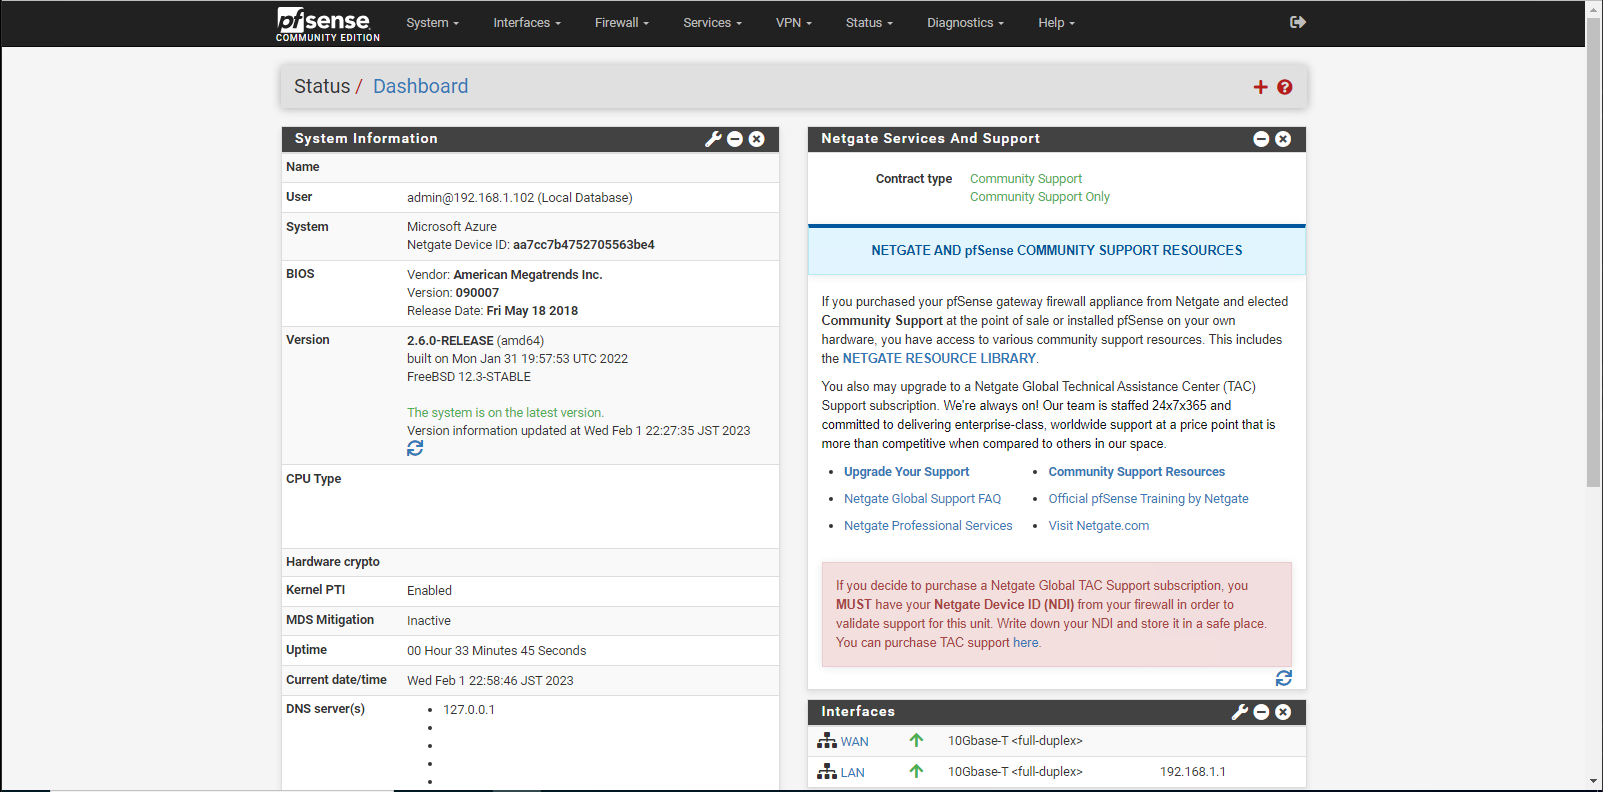
[pfSenseダッシュボード]が表示されたらpfSeseの設定は完了です。
まとめ
今回はHyper-V上にpfSenseをインストールしてみました。
pfSenseのインストール自体は簡単にインストールすることができました。
pfSenseはルータとしても活用できますが、Firewallとしても利用も期待できるので、Hyper-V上においておけば仮想環境のセキュリティ強化に役立てると思います。
おまけ
本ブログではVMwareやWindows、Linuxのインストール手順等も公開しております。
インフラエンジニアとして有益な記事や無益なコンテンツも作成しておりますので、通勤時間や休憩時間、休日のスキマ時間等に合わせて読んでいただけると幸いです。
また、Youtubeで解説動画も鋭意作成中です。本ブログで記事にしているものも動画にしようと思っておりますので、よろしくお願いいたします。
willserverのnoteも開設したのでフォローお願いします。


コメント